G-backup 365-EN
Contenido
Getting started with G-Backup365
Initial Setup
- In the left side panel or product card, select g-Backup 365 to access the product.
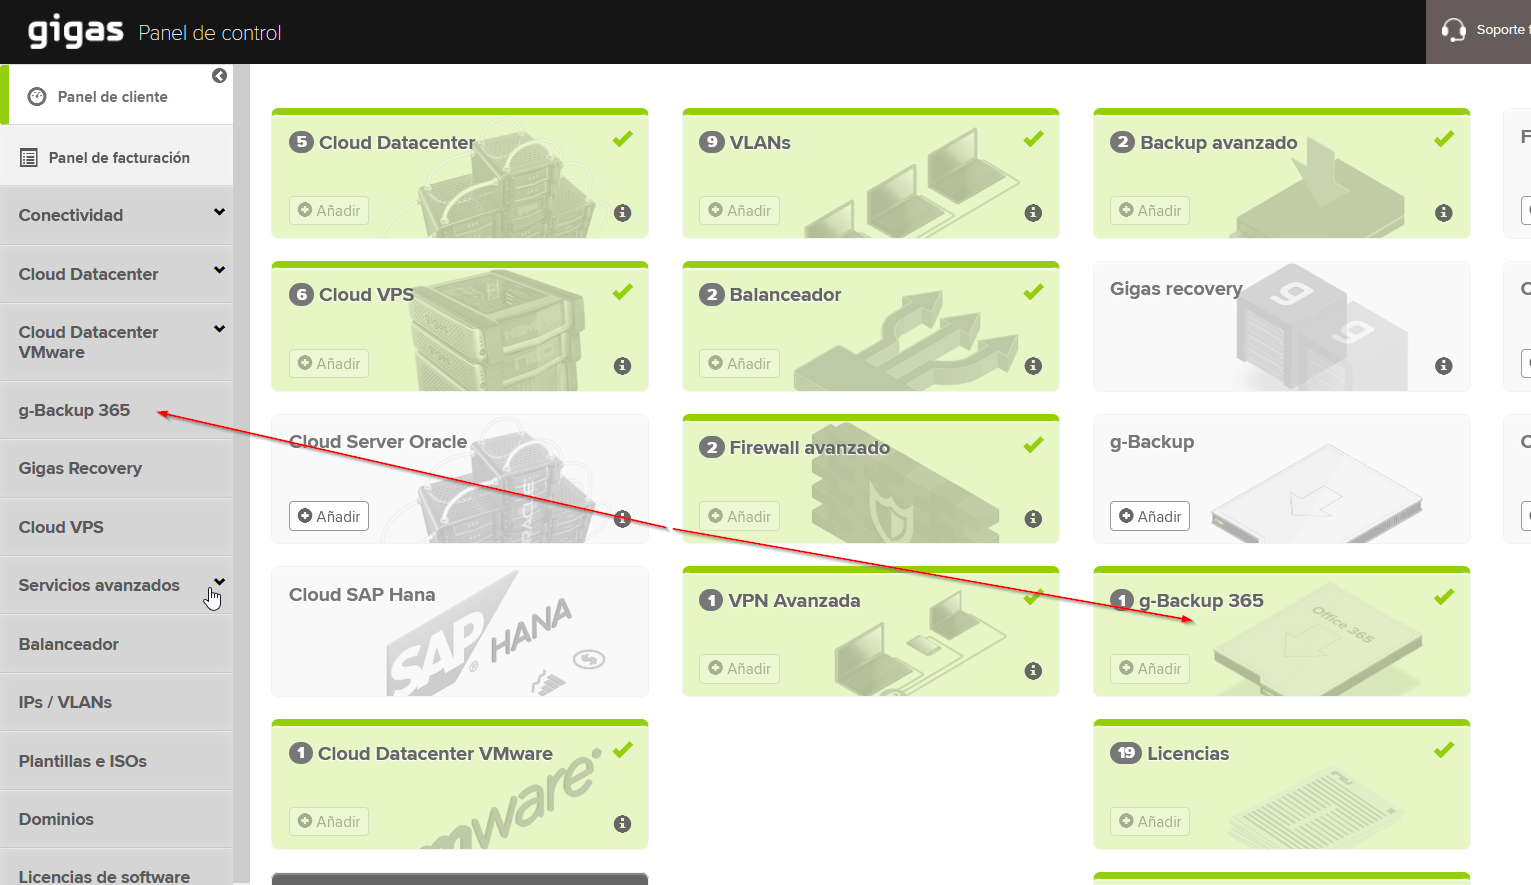
- Select the organization you want to configure and click on the "Configure g-Backup 365" button.

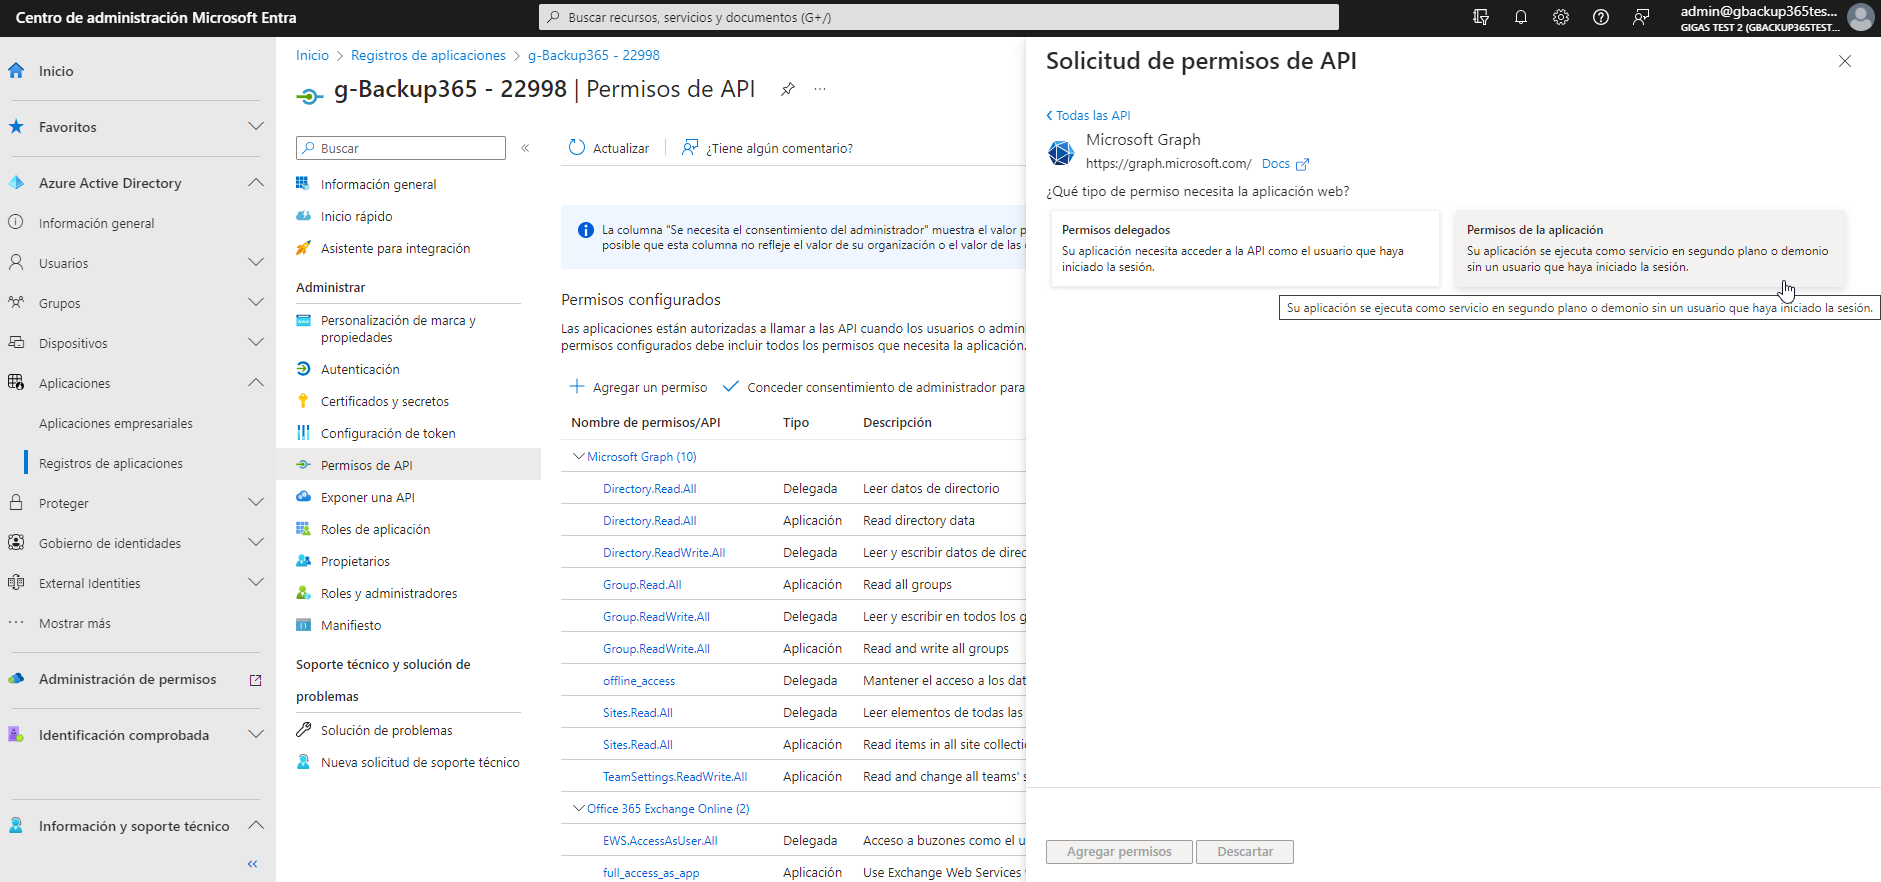
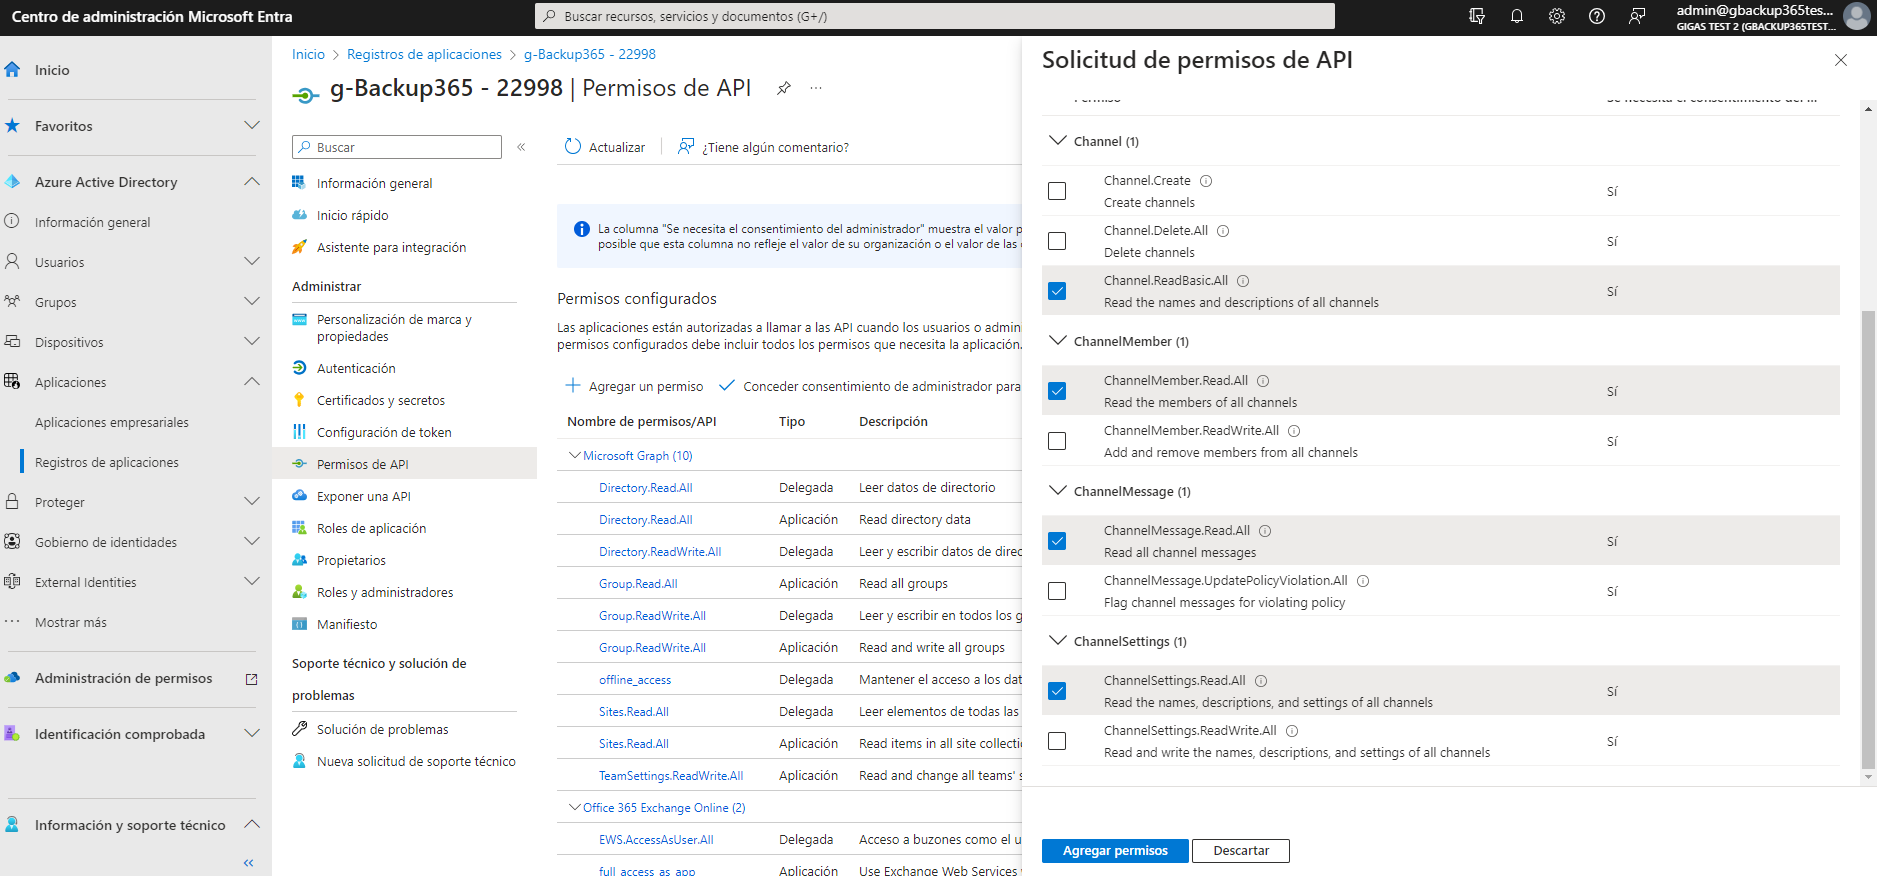
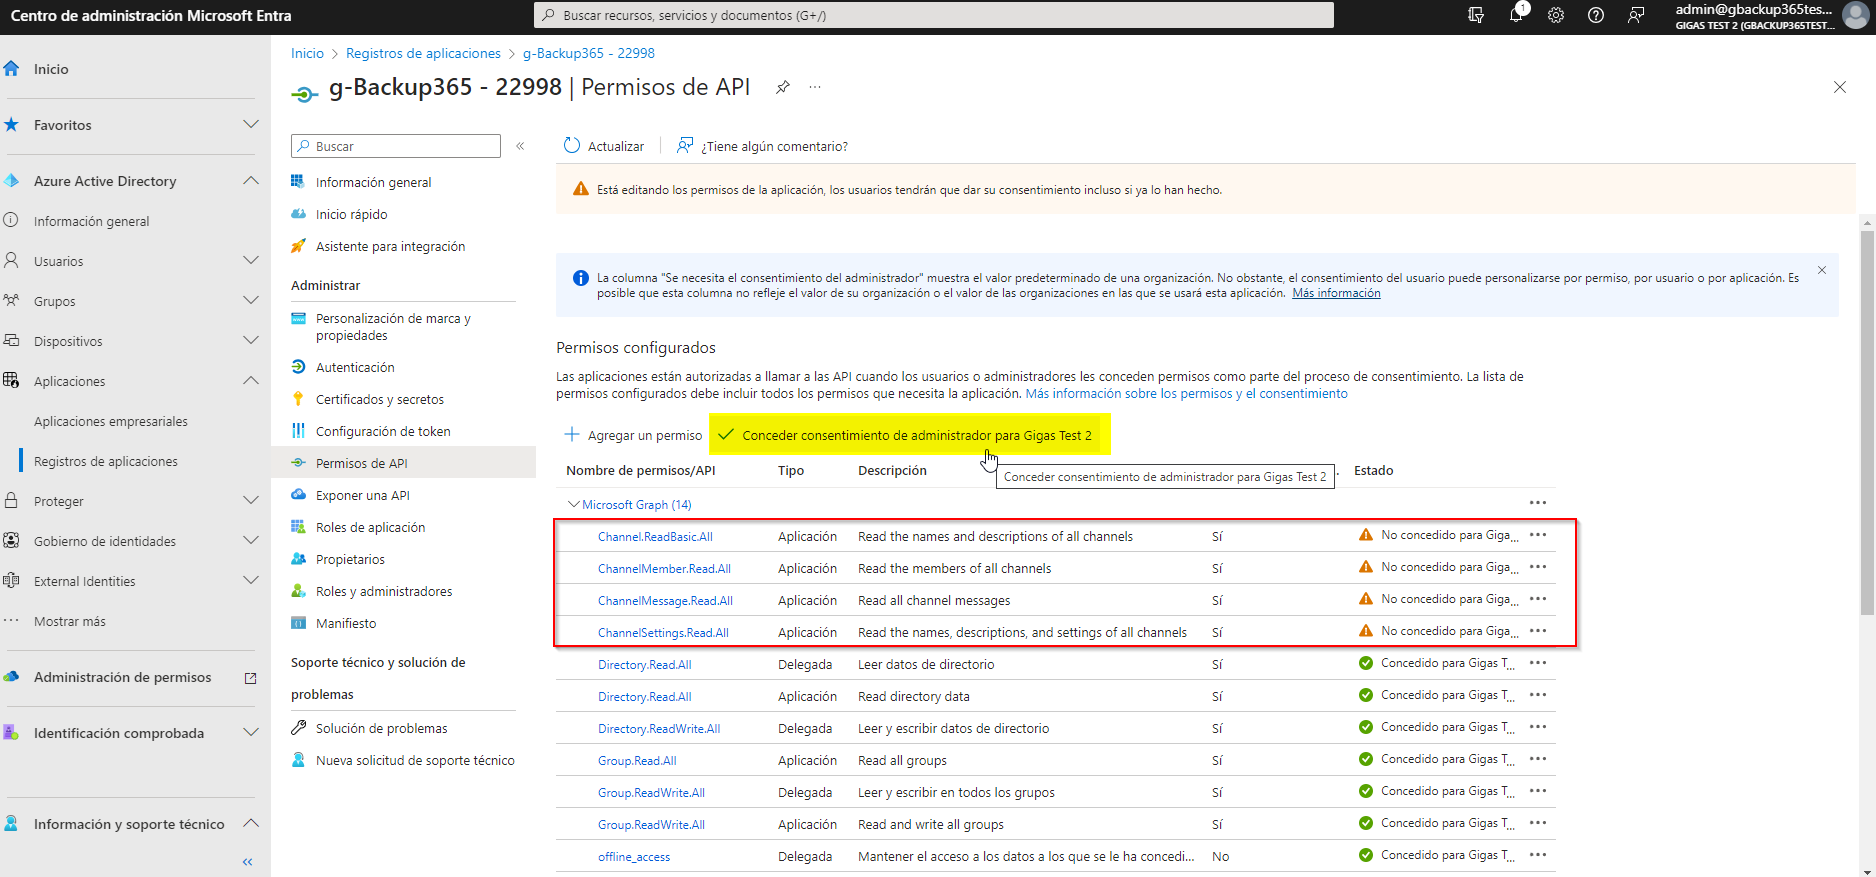
- A pop-up with a code will appear. This code is what we will use to register the g-backup 365 app. Copy the code and click the "Go to Microsoft 365 admin" button.
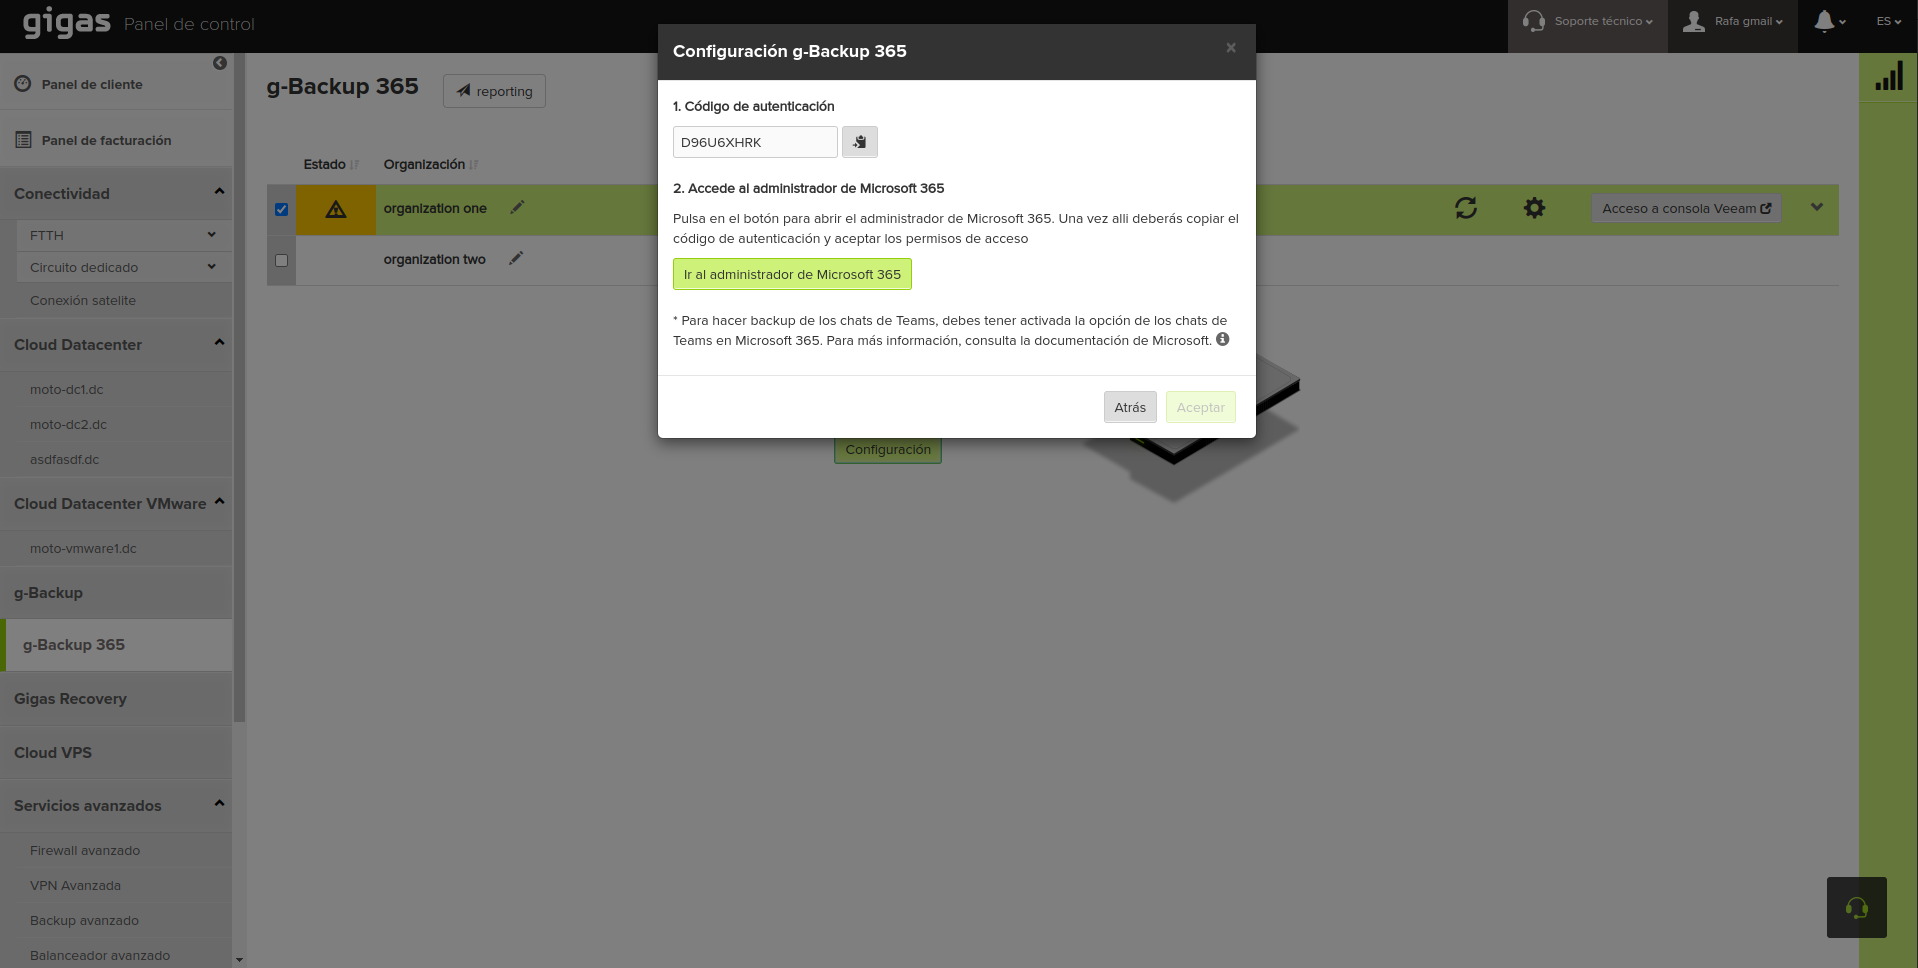
- The obtained code is for one-time use and is used for registration against Azure AD, so copy it and go to the Microsoft 365 admin to paste the code and click "Next."
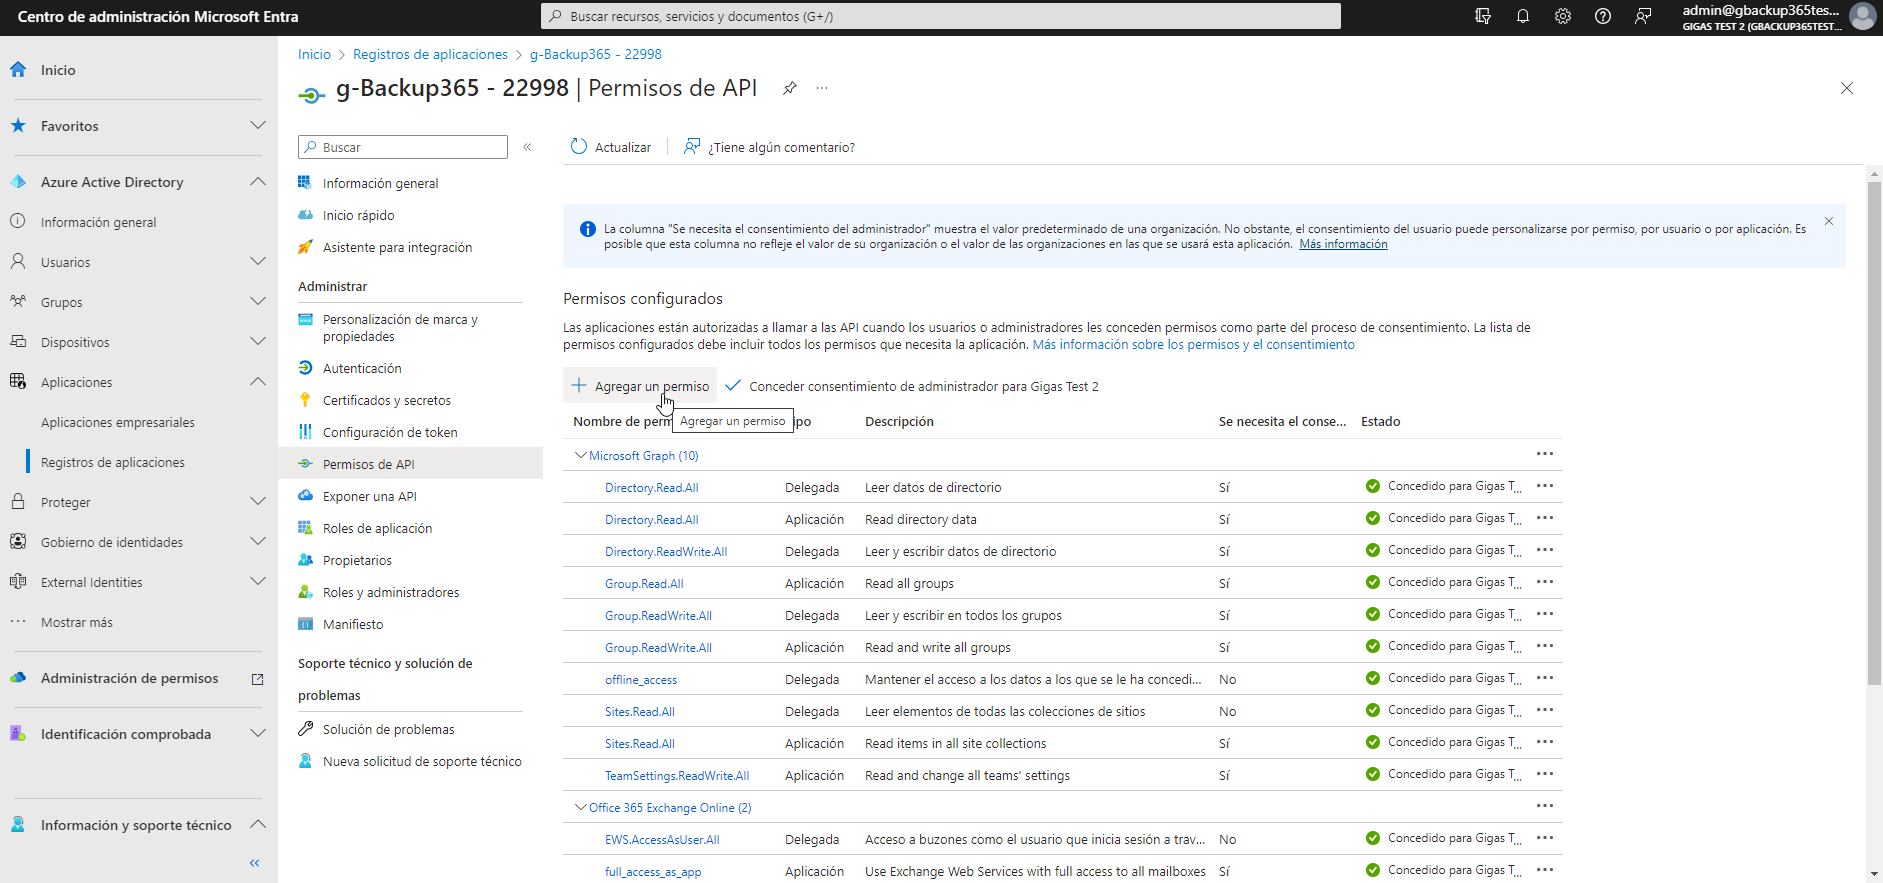
- Enter Azure AD credentials (you need to be an organization administrator). Once the process is complete, return to the GIGAS Control Panel page.
- Wait for the initial configuration process to finish.
Categories
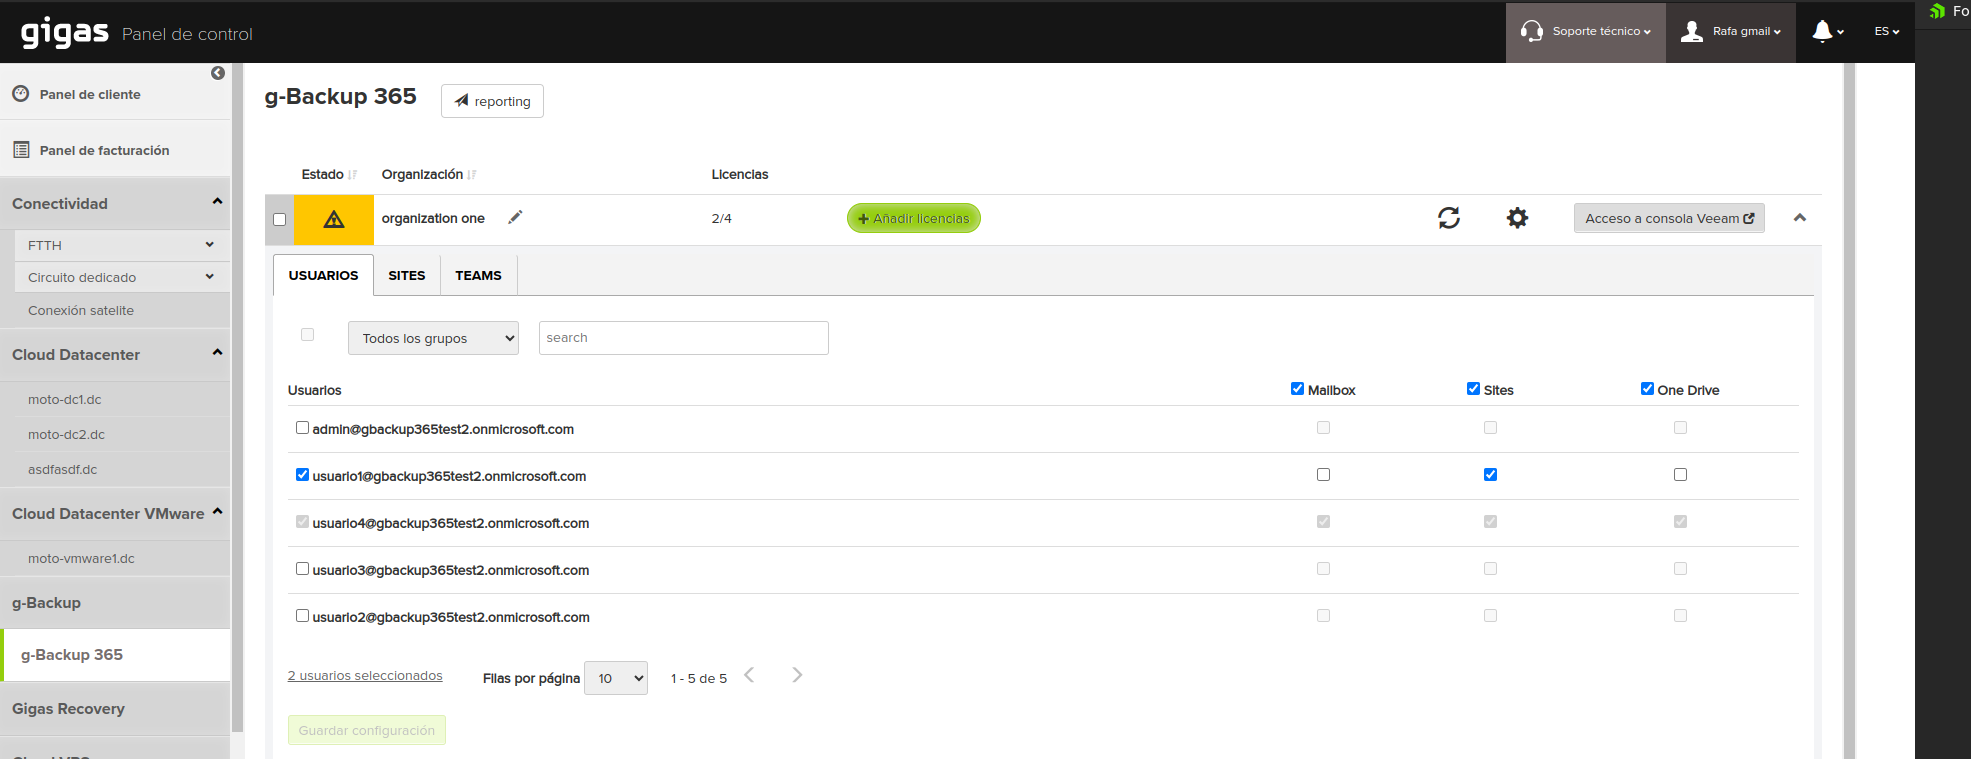
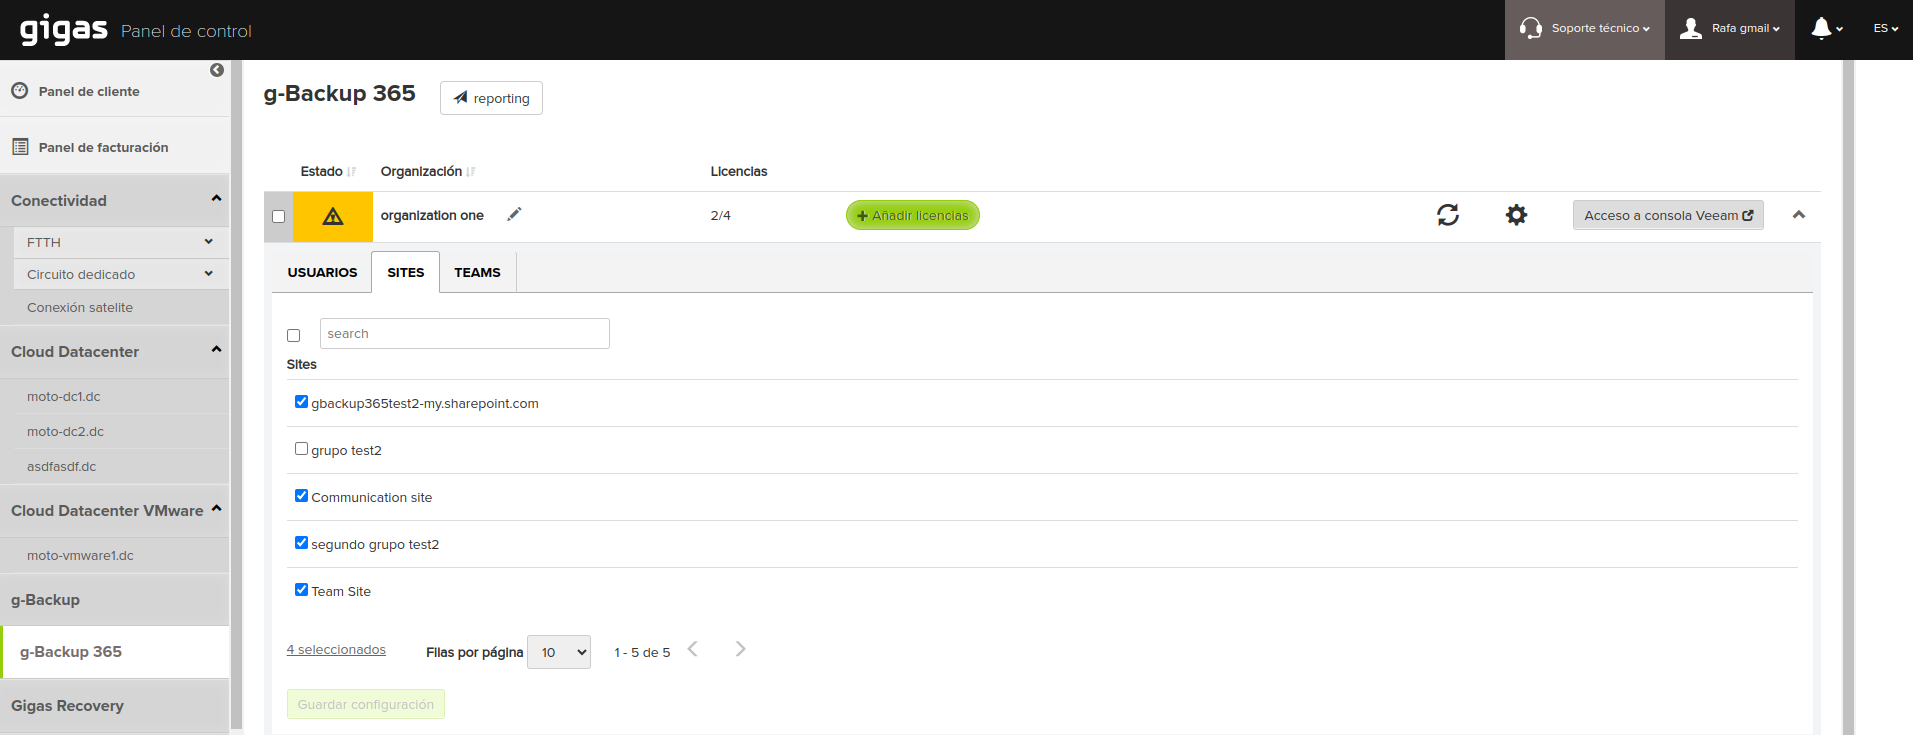
G-Backup 365 is divided into three categories: Users, Sites, and Teams.
For each tab, one of the categories is prepared for backup. Users Sites Teams
Users
Within Users, you can select whether to back up the selected users' mailboxes, their personal Sites, or their OneDrive, or any combination of the above.
Sites
Within Sites, there are no subcategories.
Teams
Within Teams, you can choose to back up Teams chats or not (this needs to be enabled in Azure AD and may incur additional costs from Microsoft).
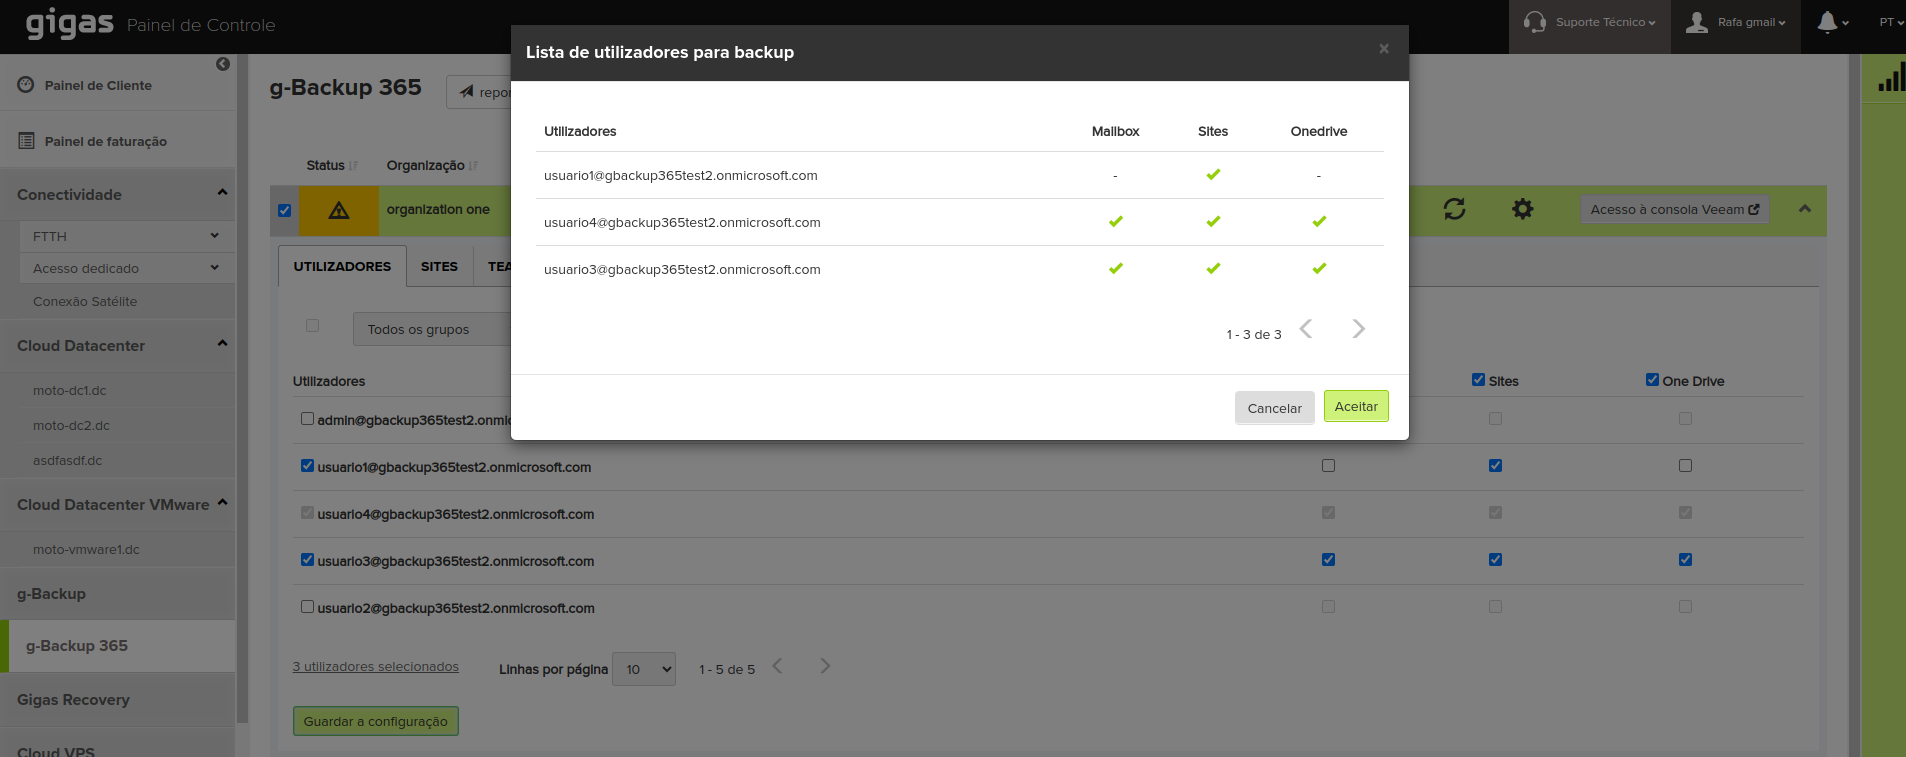
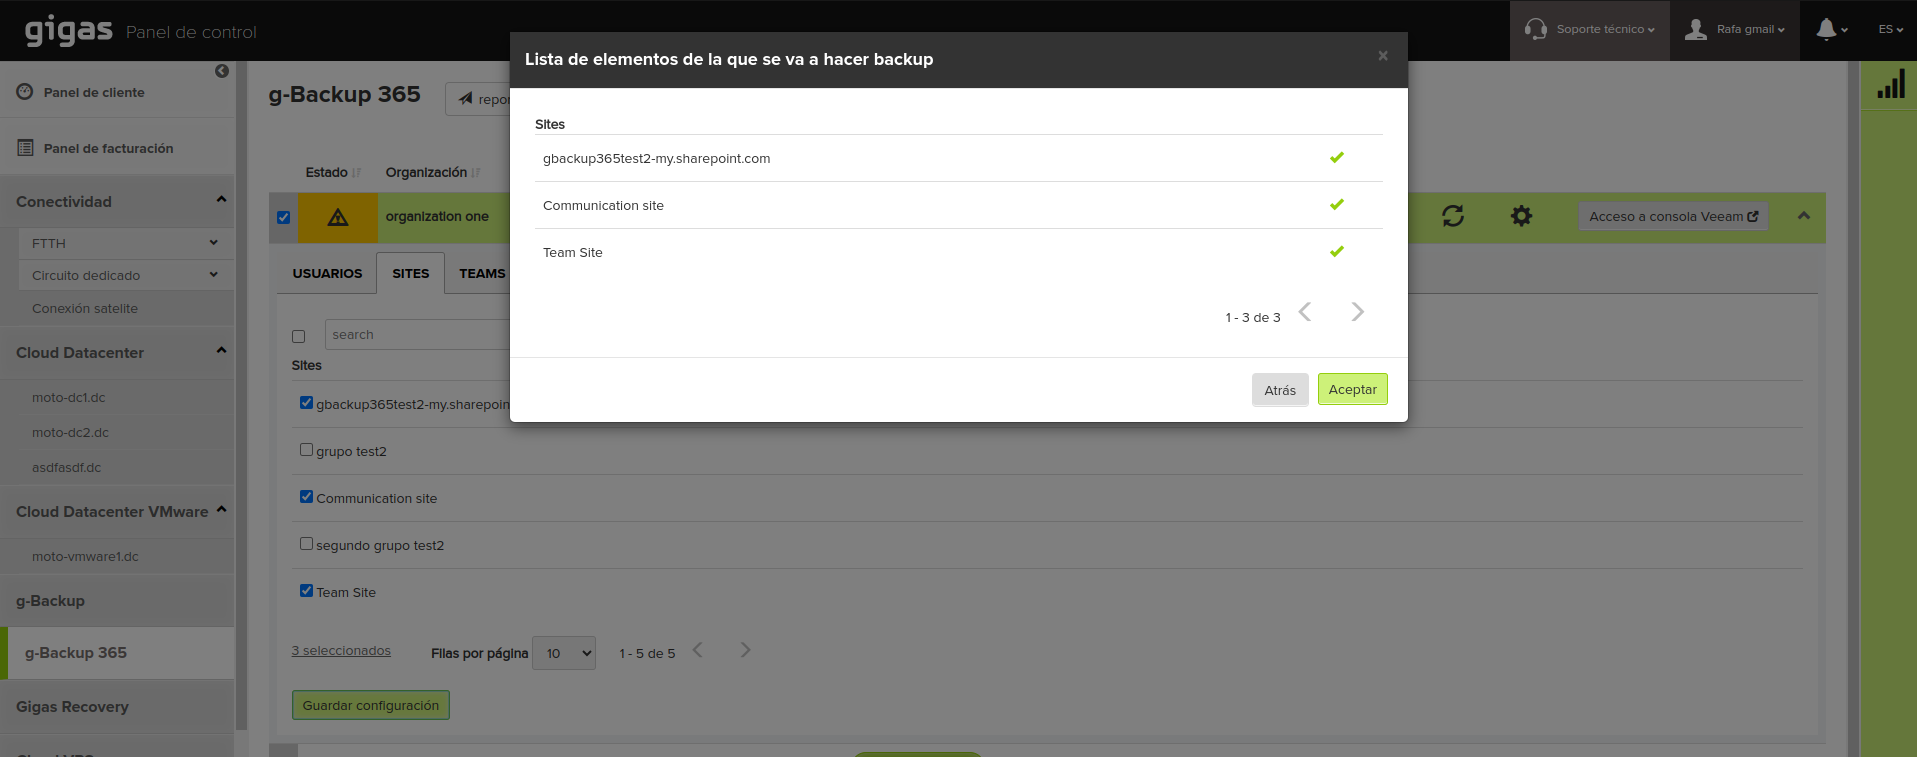
After configuring each category, click "Save Configuration" to view a summary of the configuration to be saved.
If you try to exit without saving the configuration, a warning pop-up will appear.

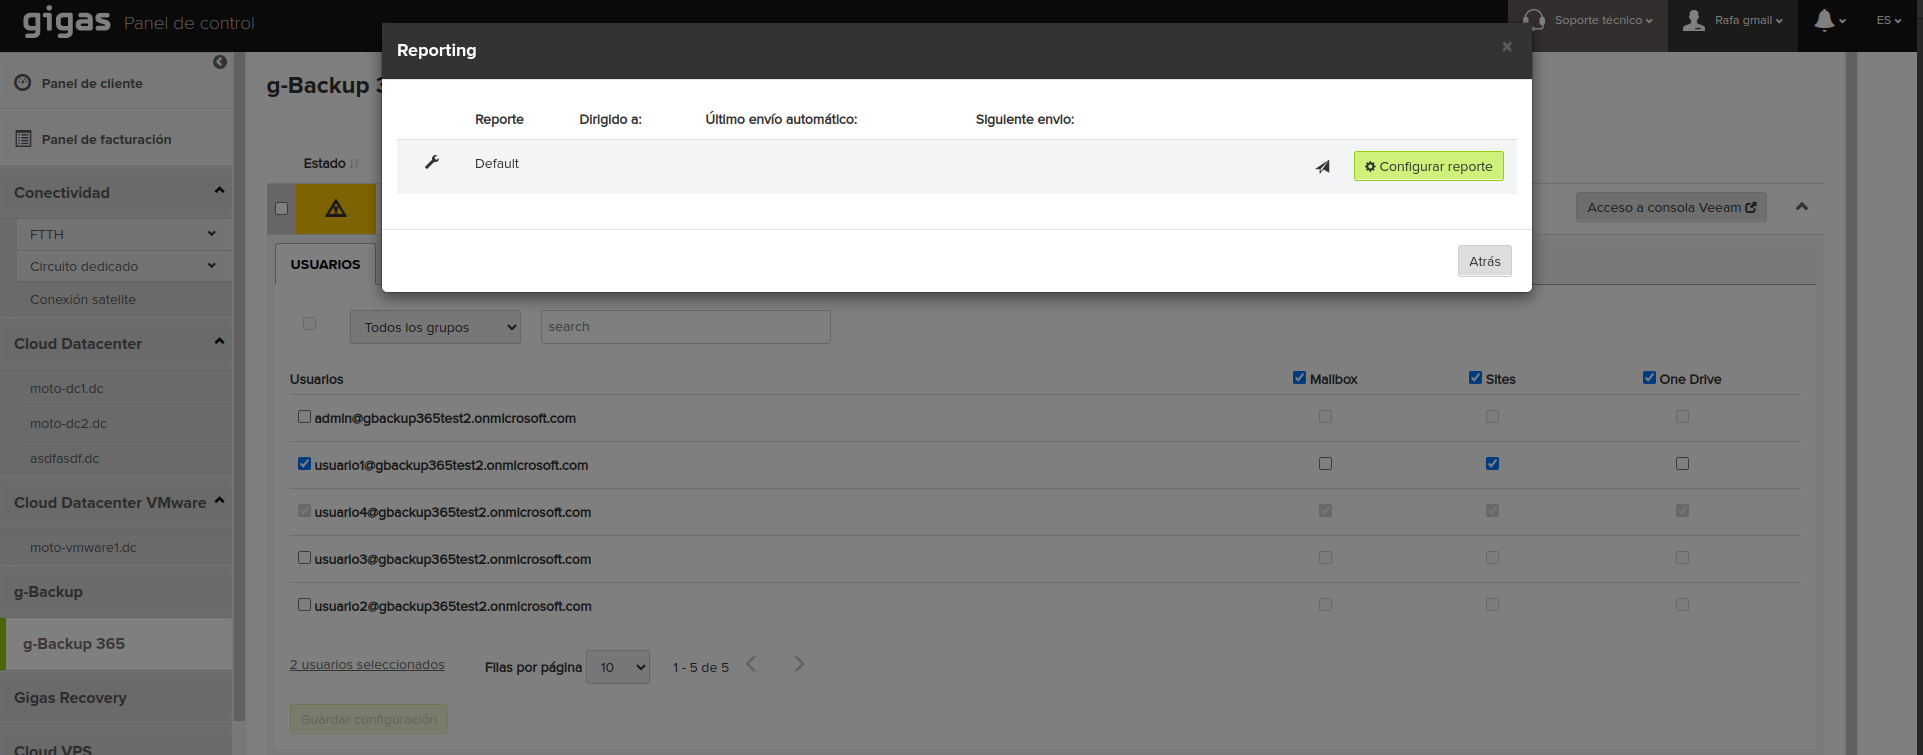
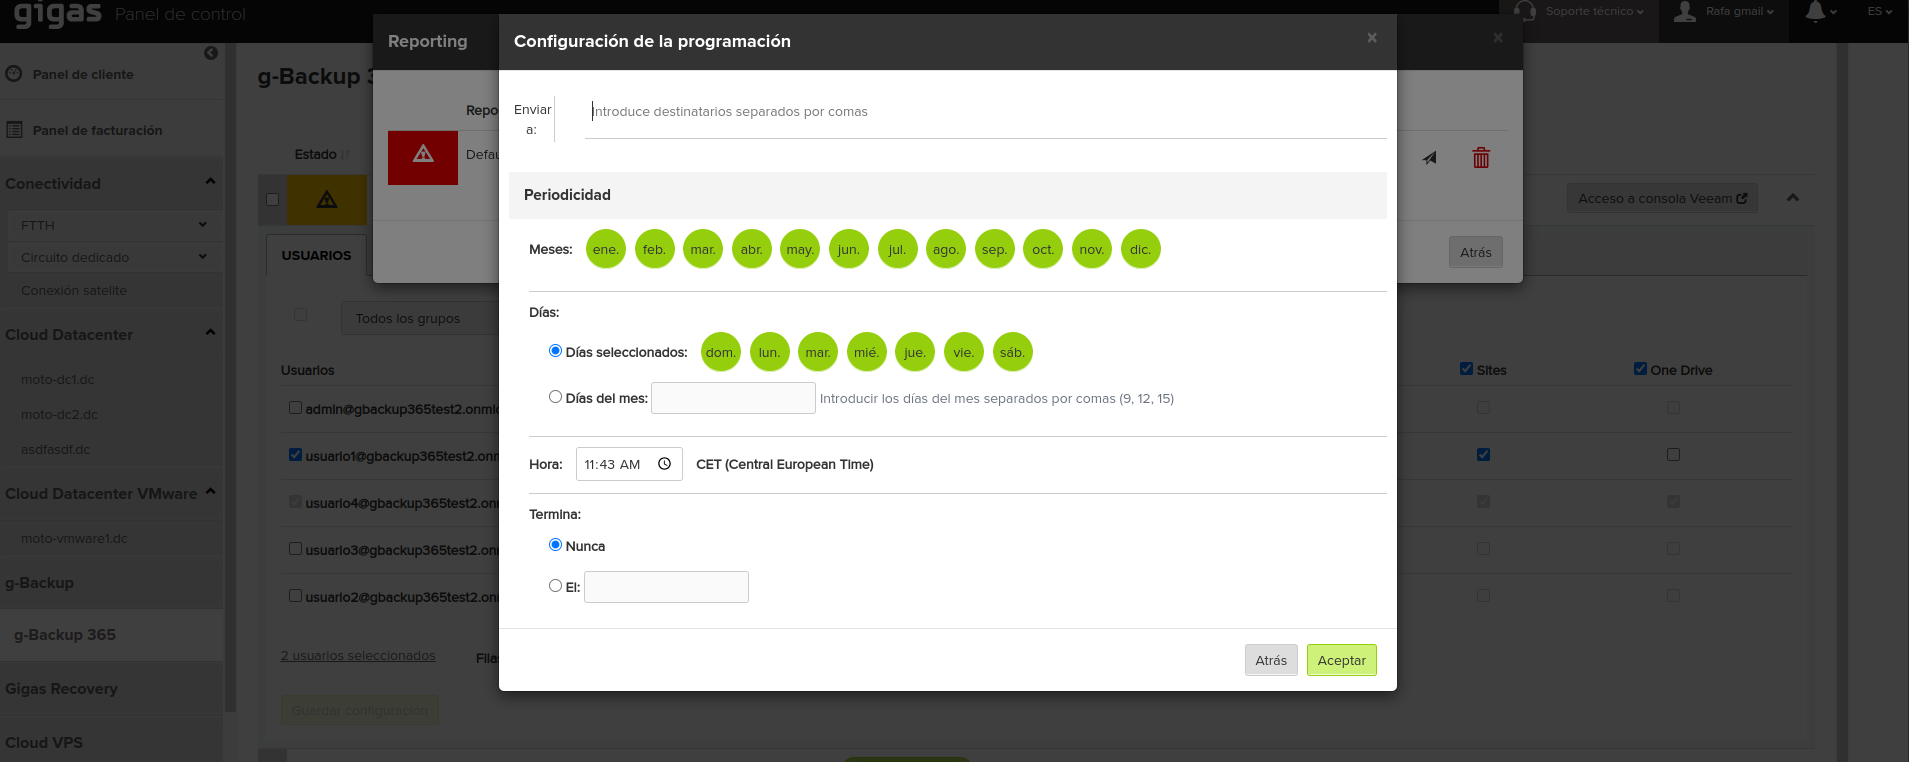
Create Report
You can customize basic reports via email.
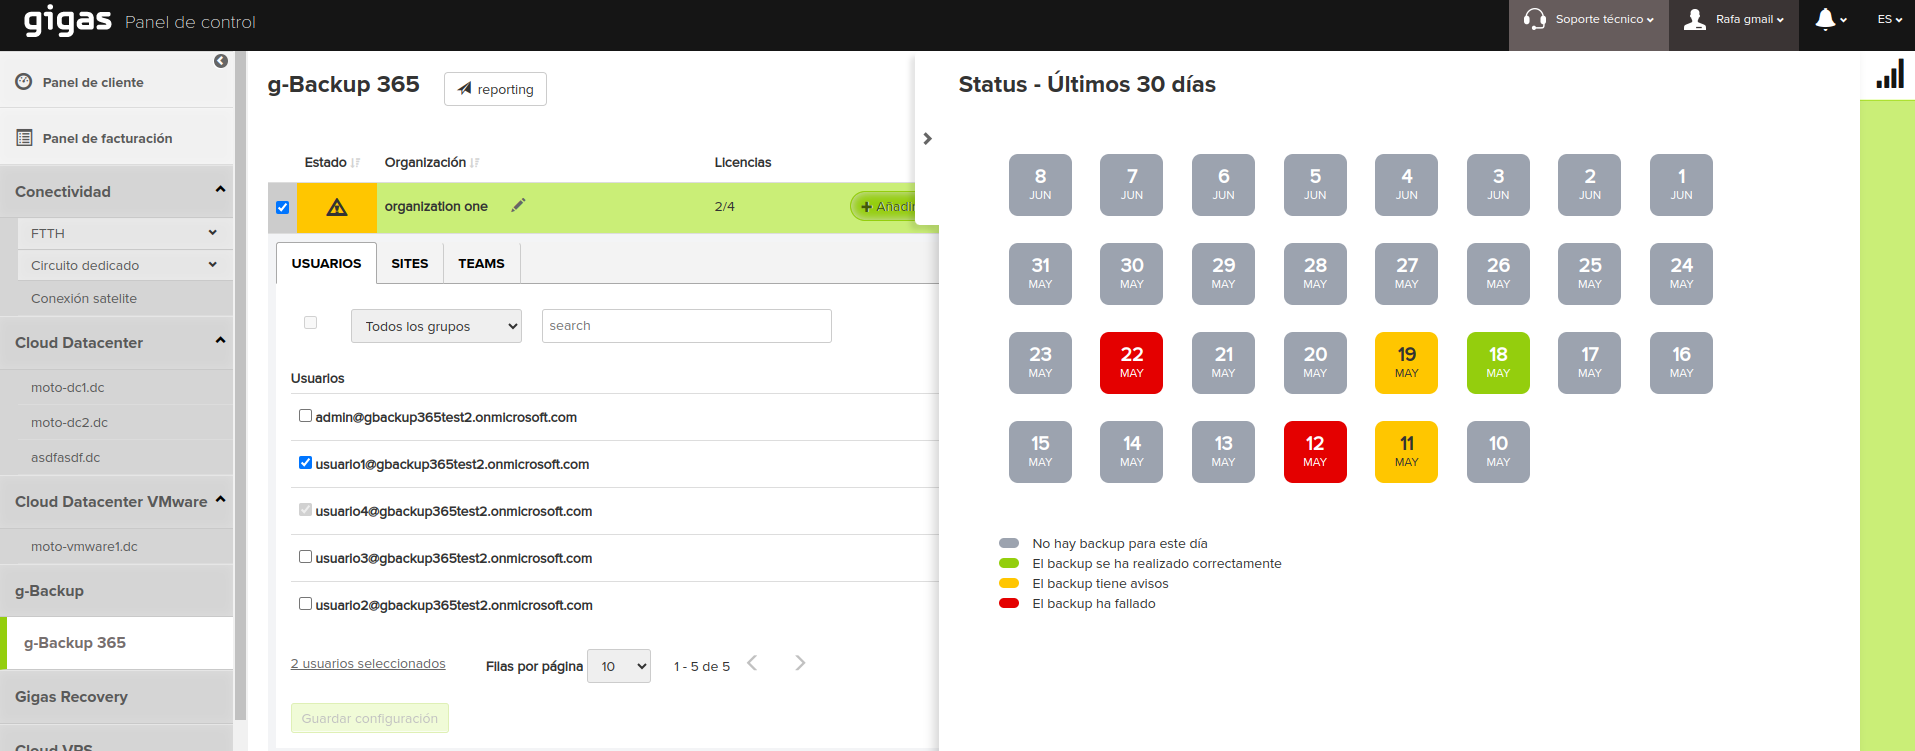
This is the reporting tool within the panel.
Green: Backup OK
Yellow: Backup with Warnings (you can check the error by clicking on it)
Red: Backup NOT OK (you can check the error by clicking on it)
Gray: no backup scheduled for that day
Restore Portal
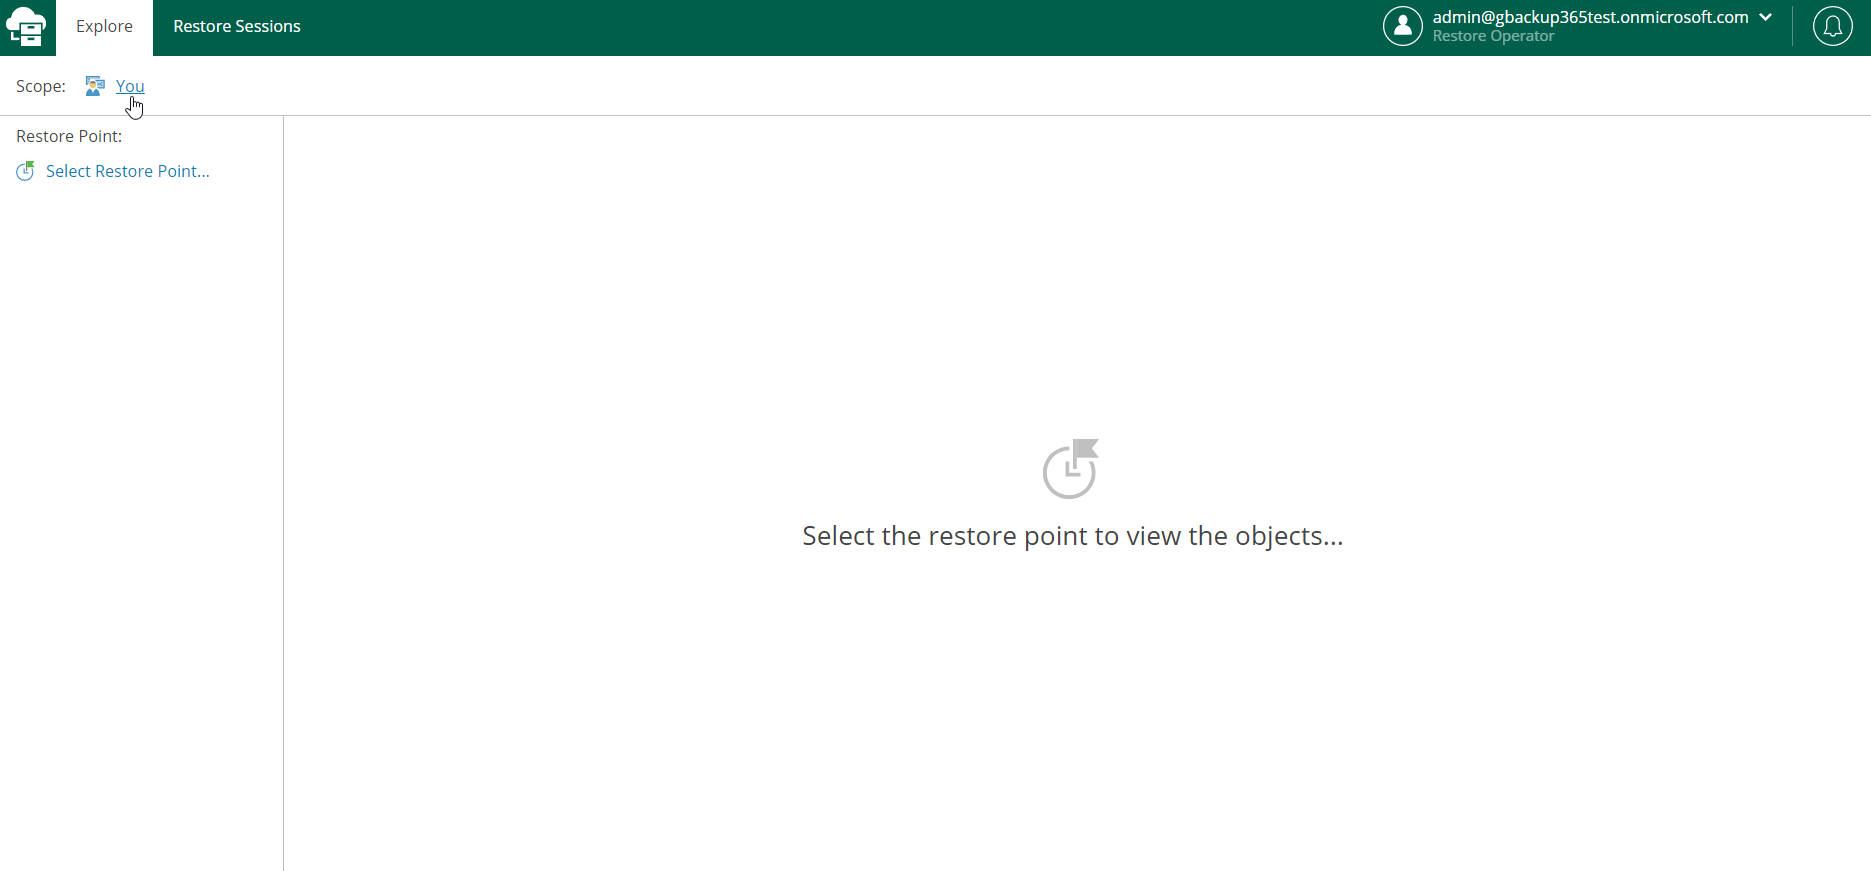
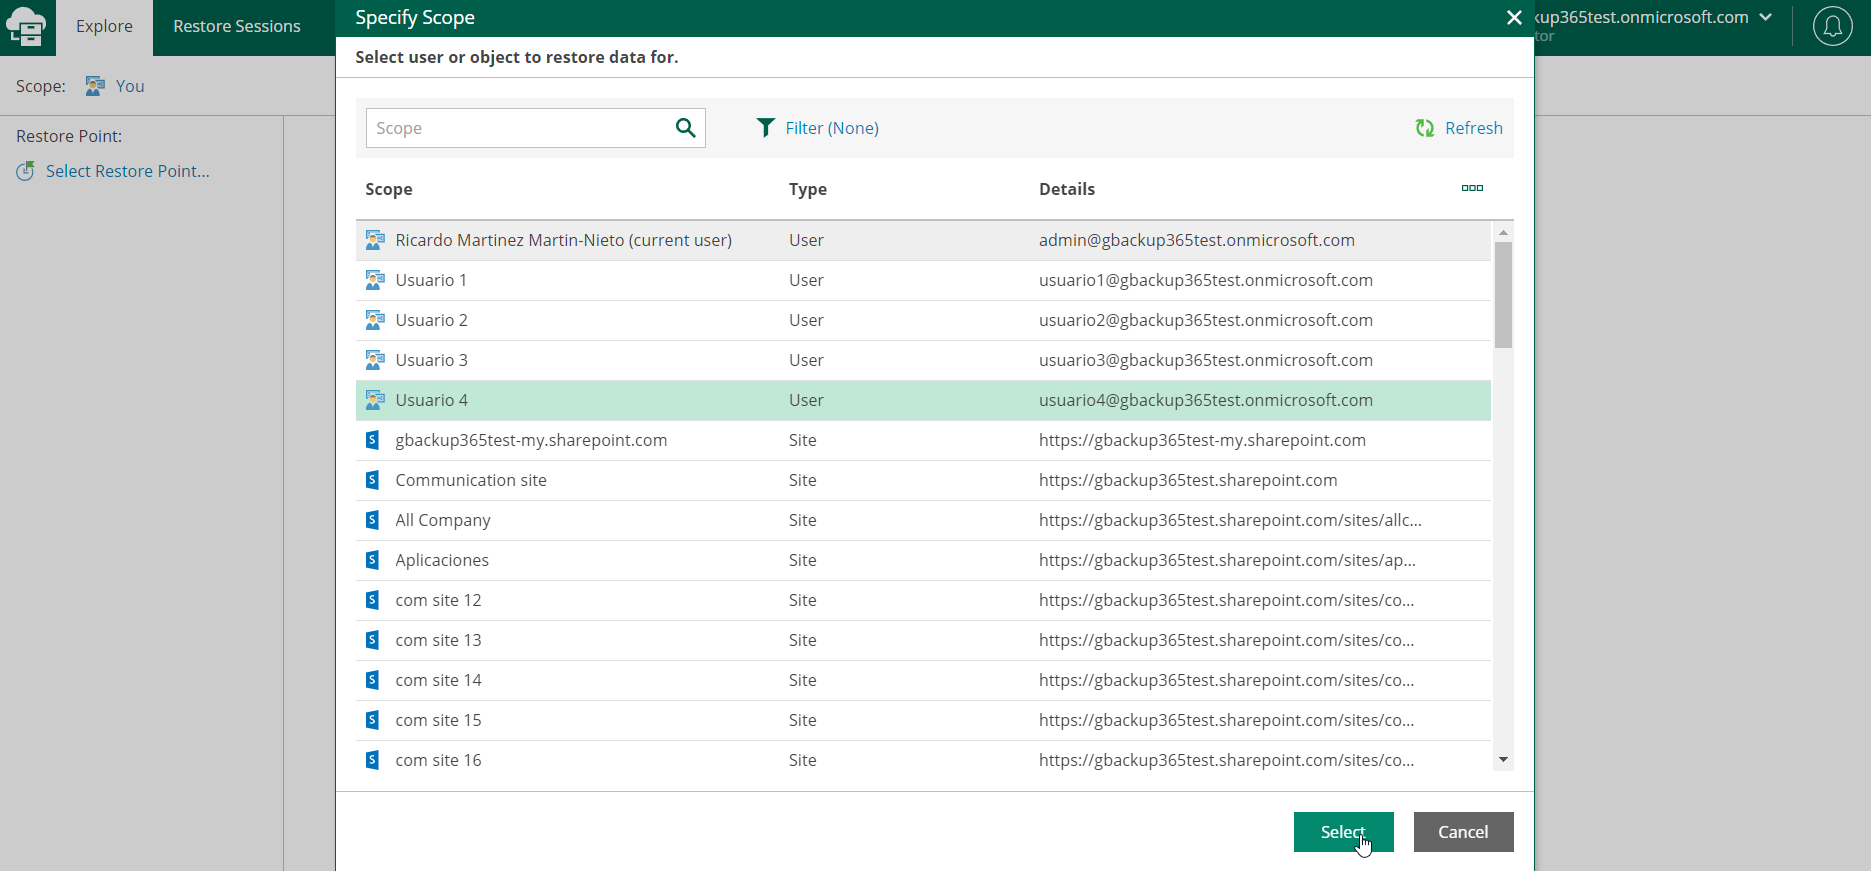
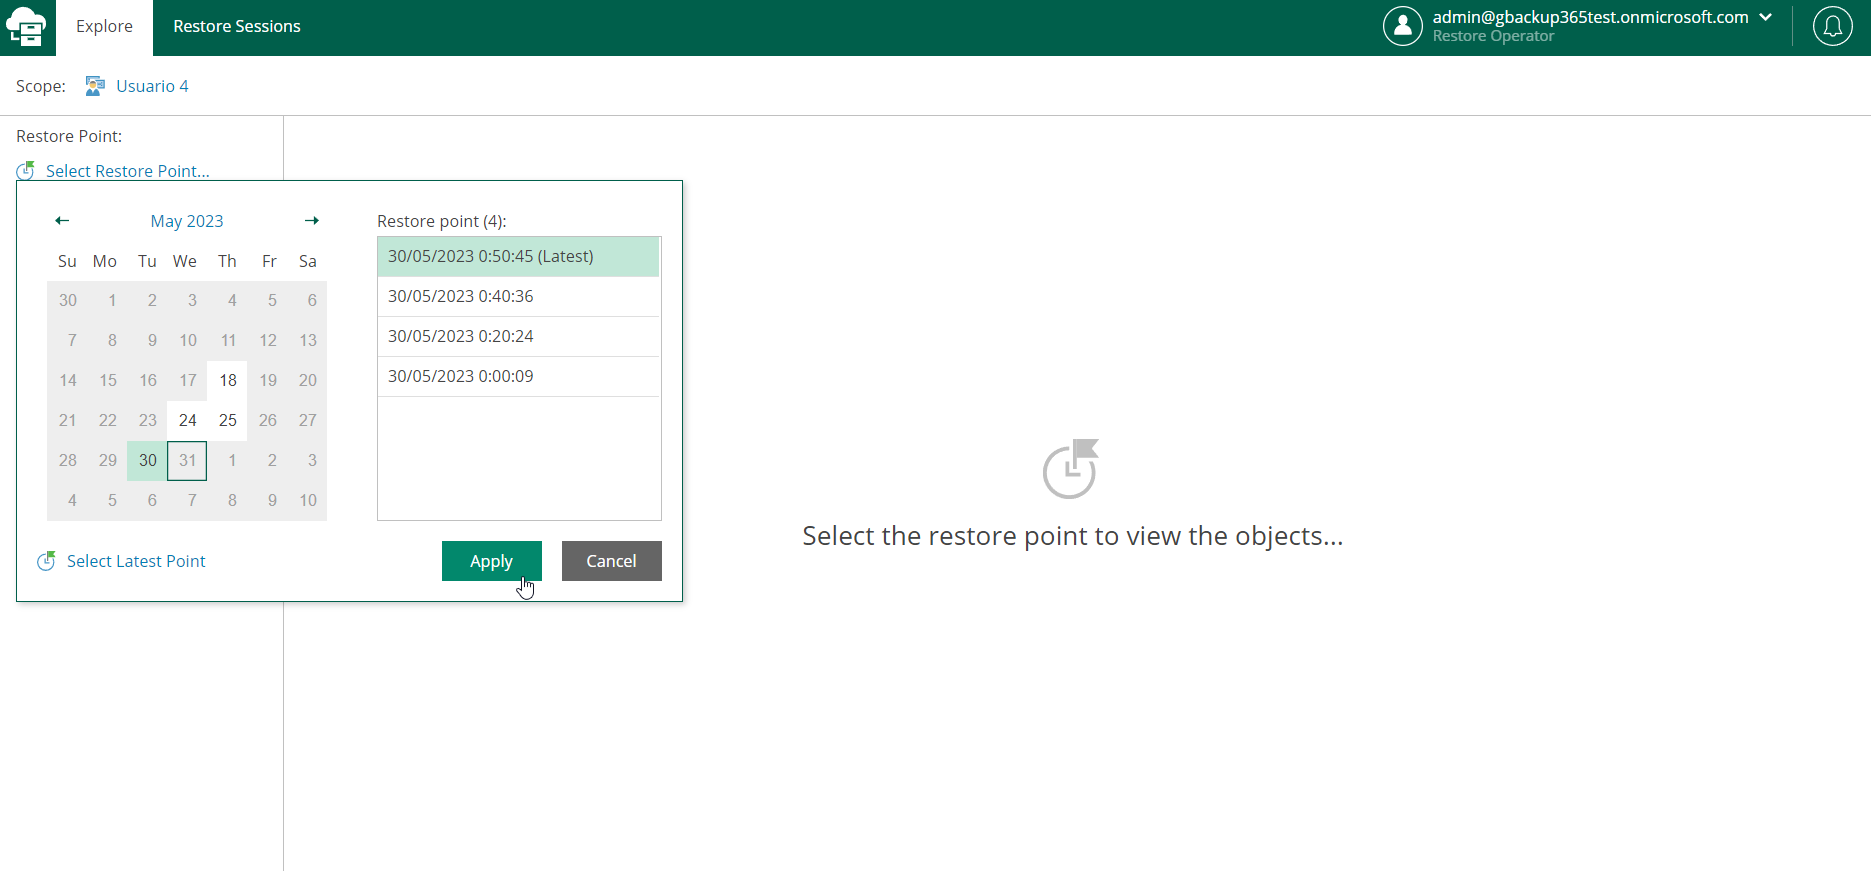
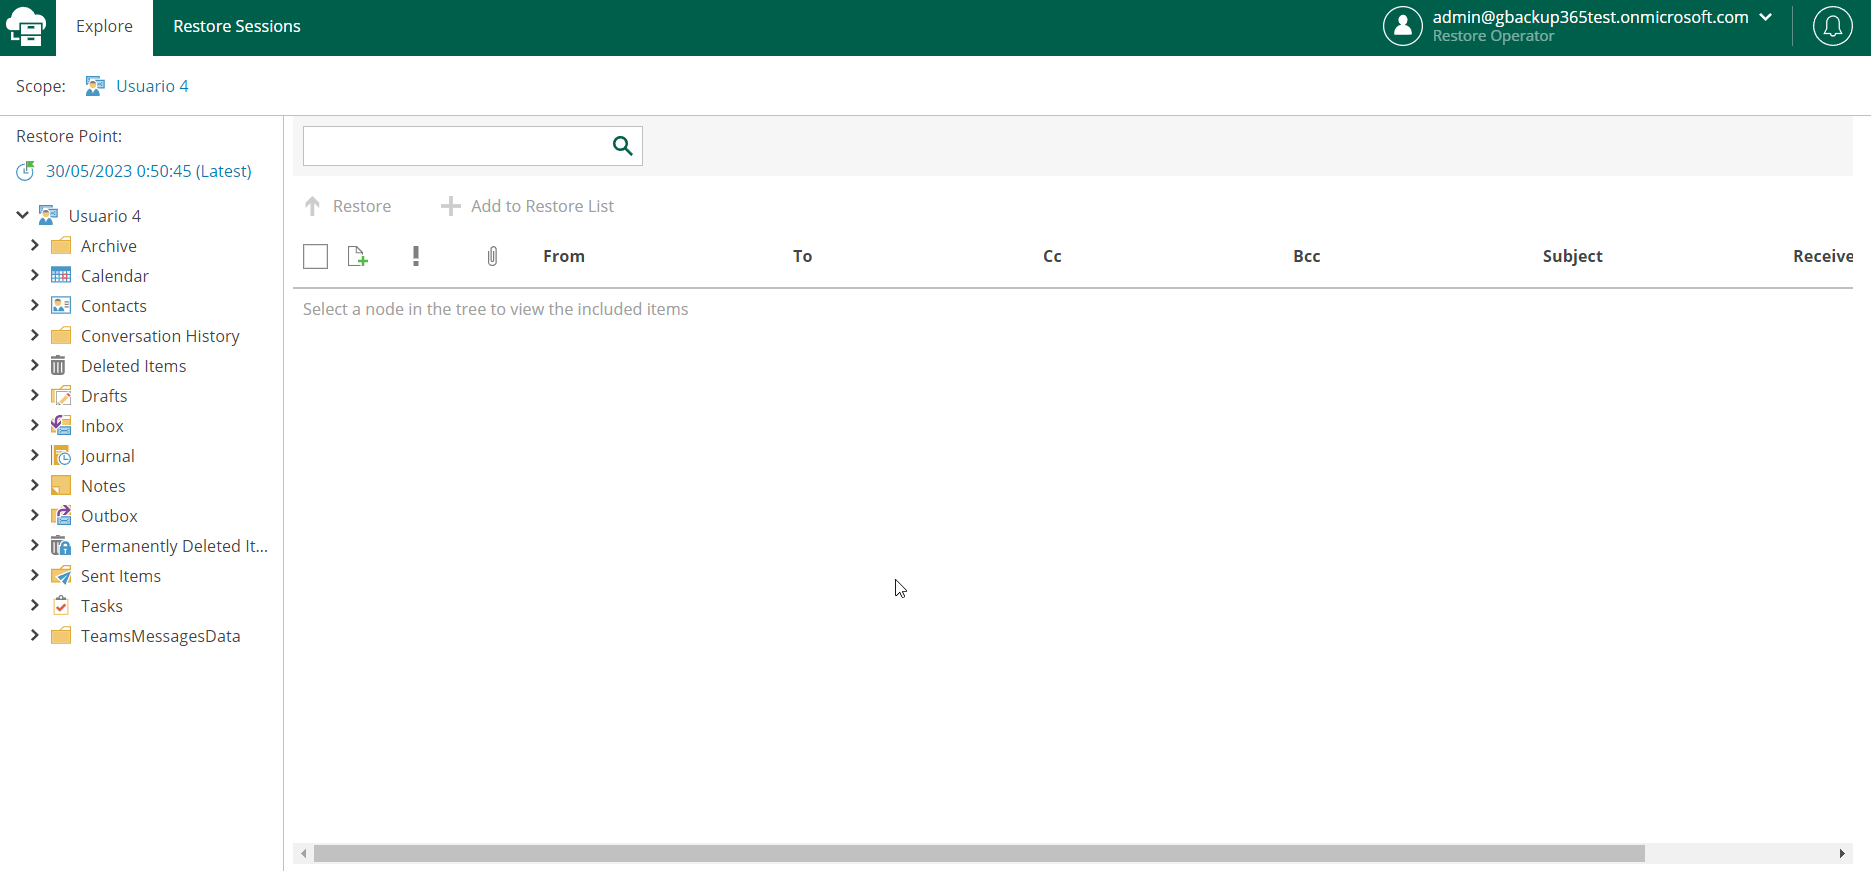
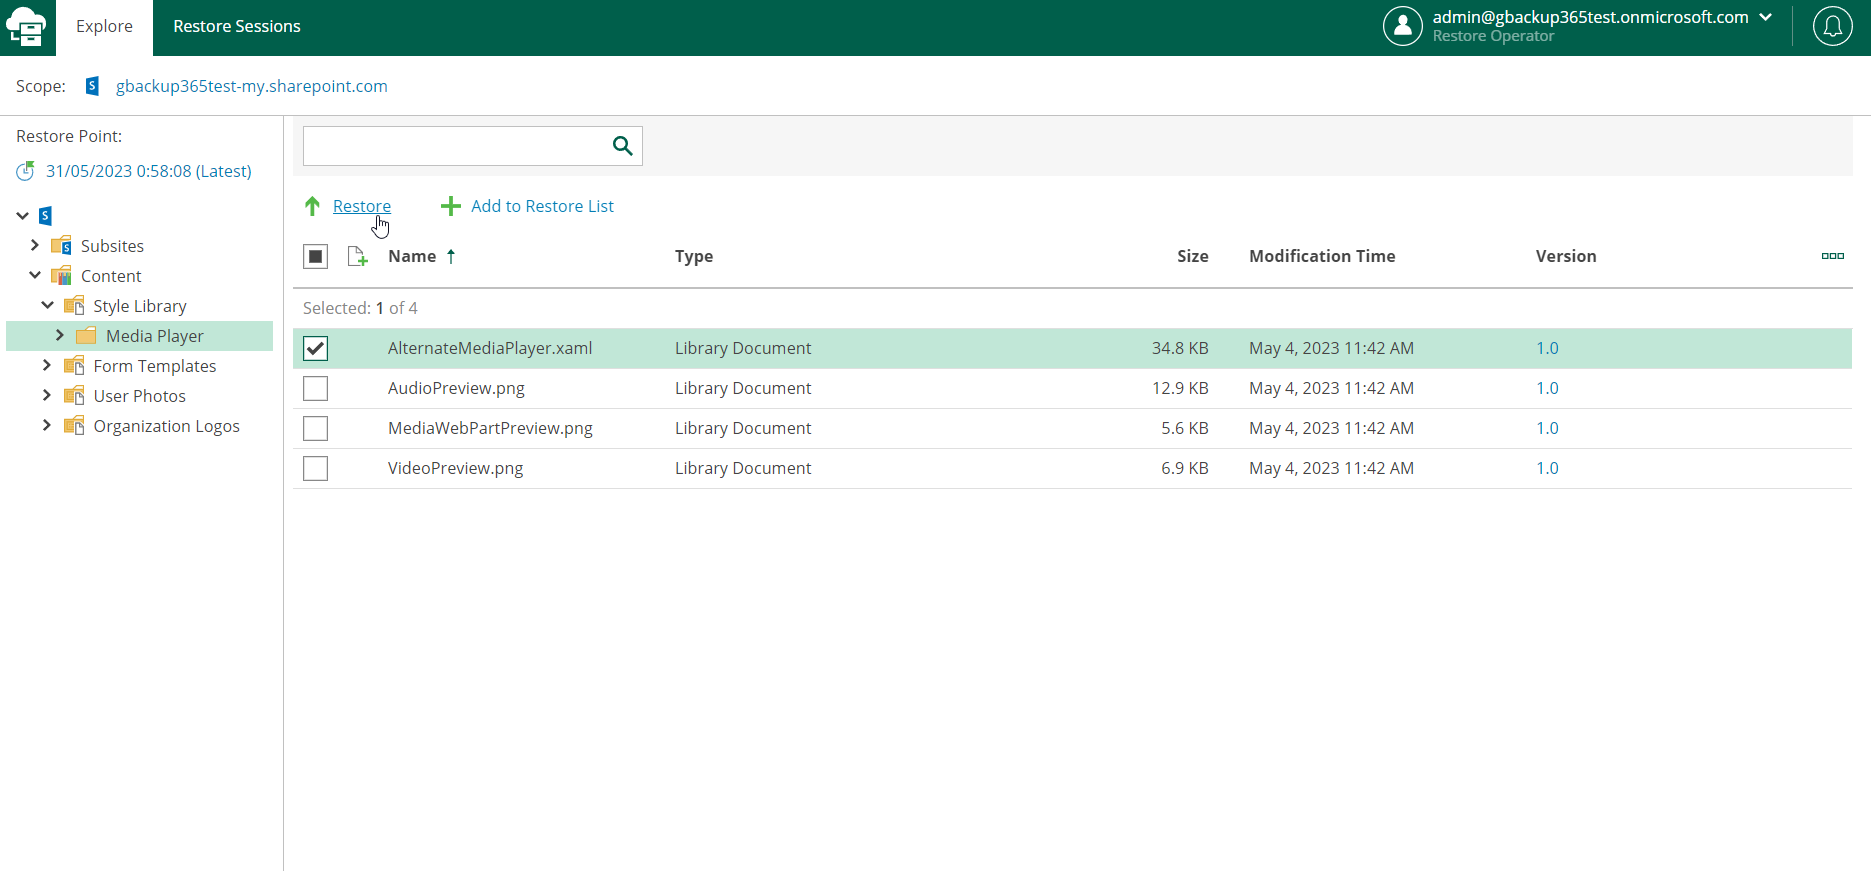
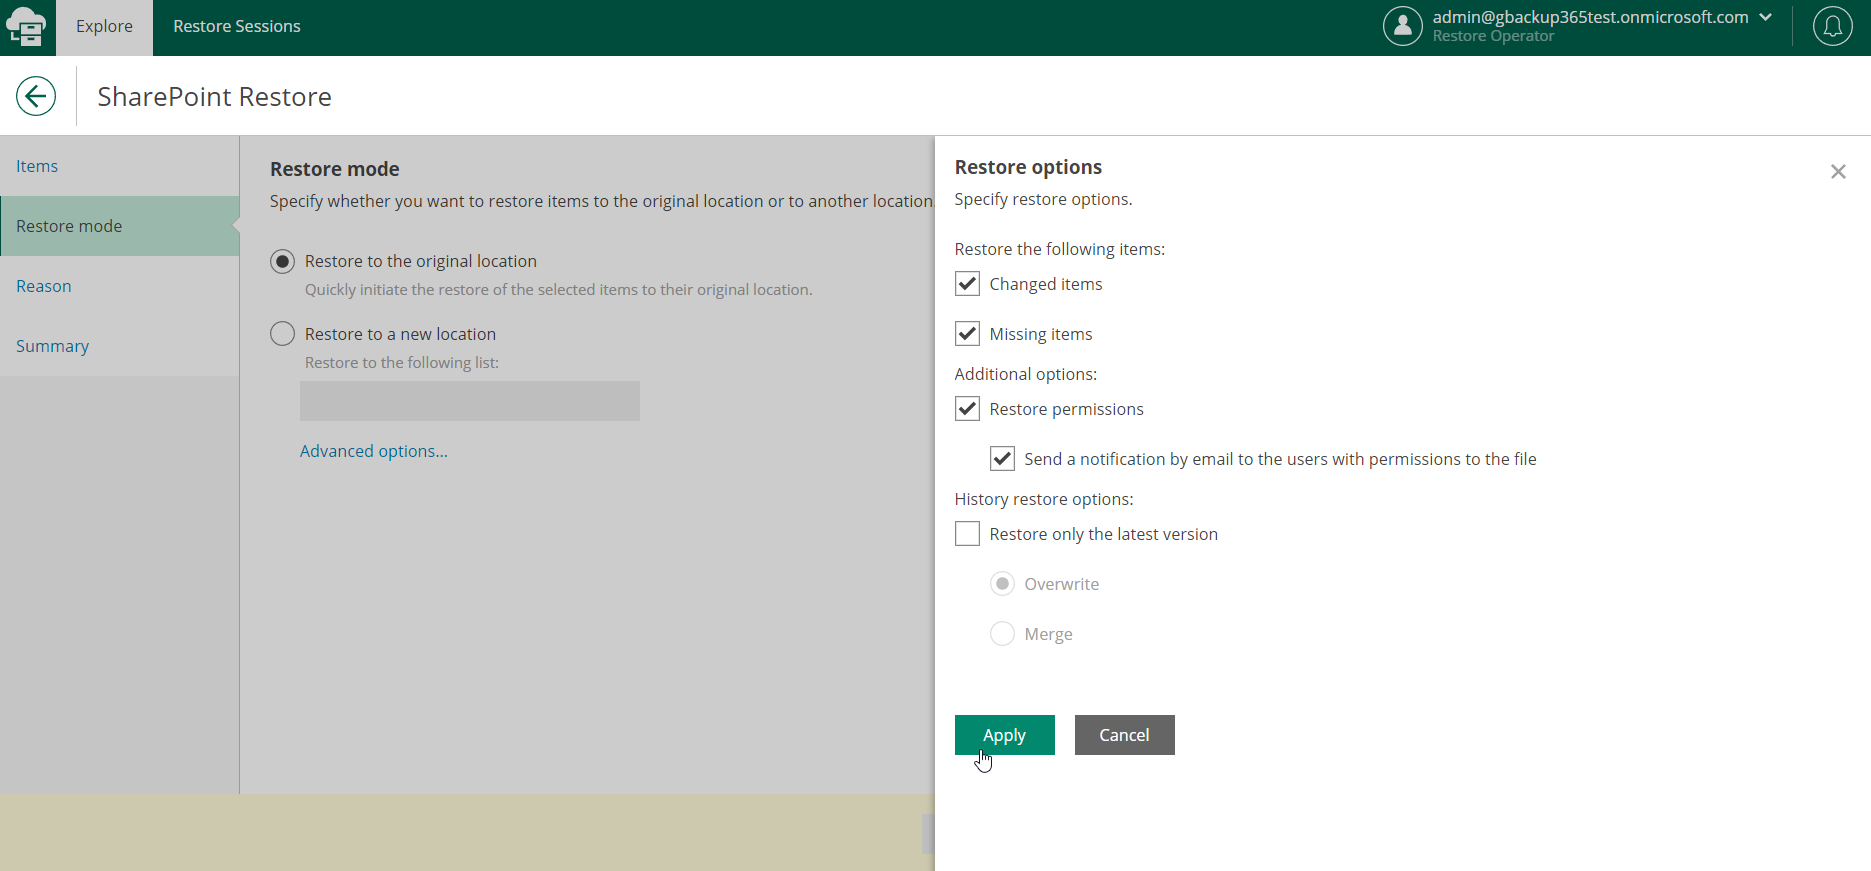
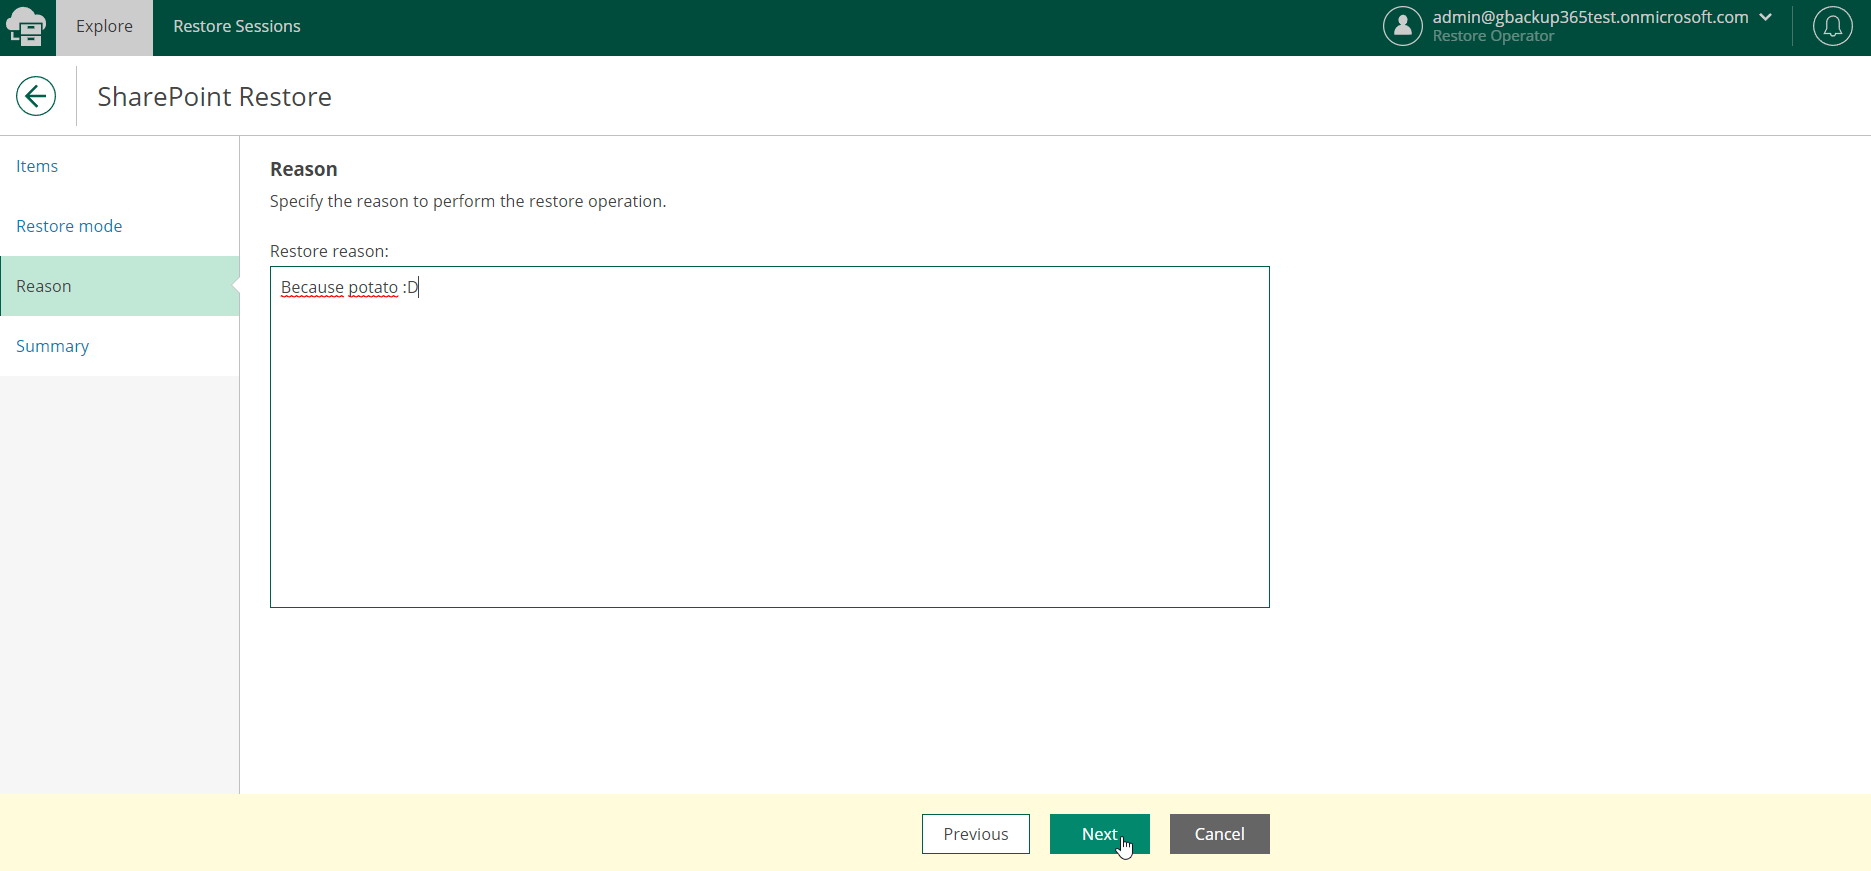
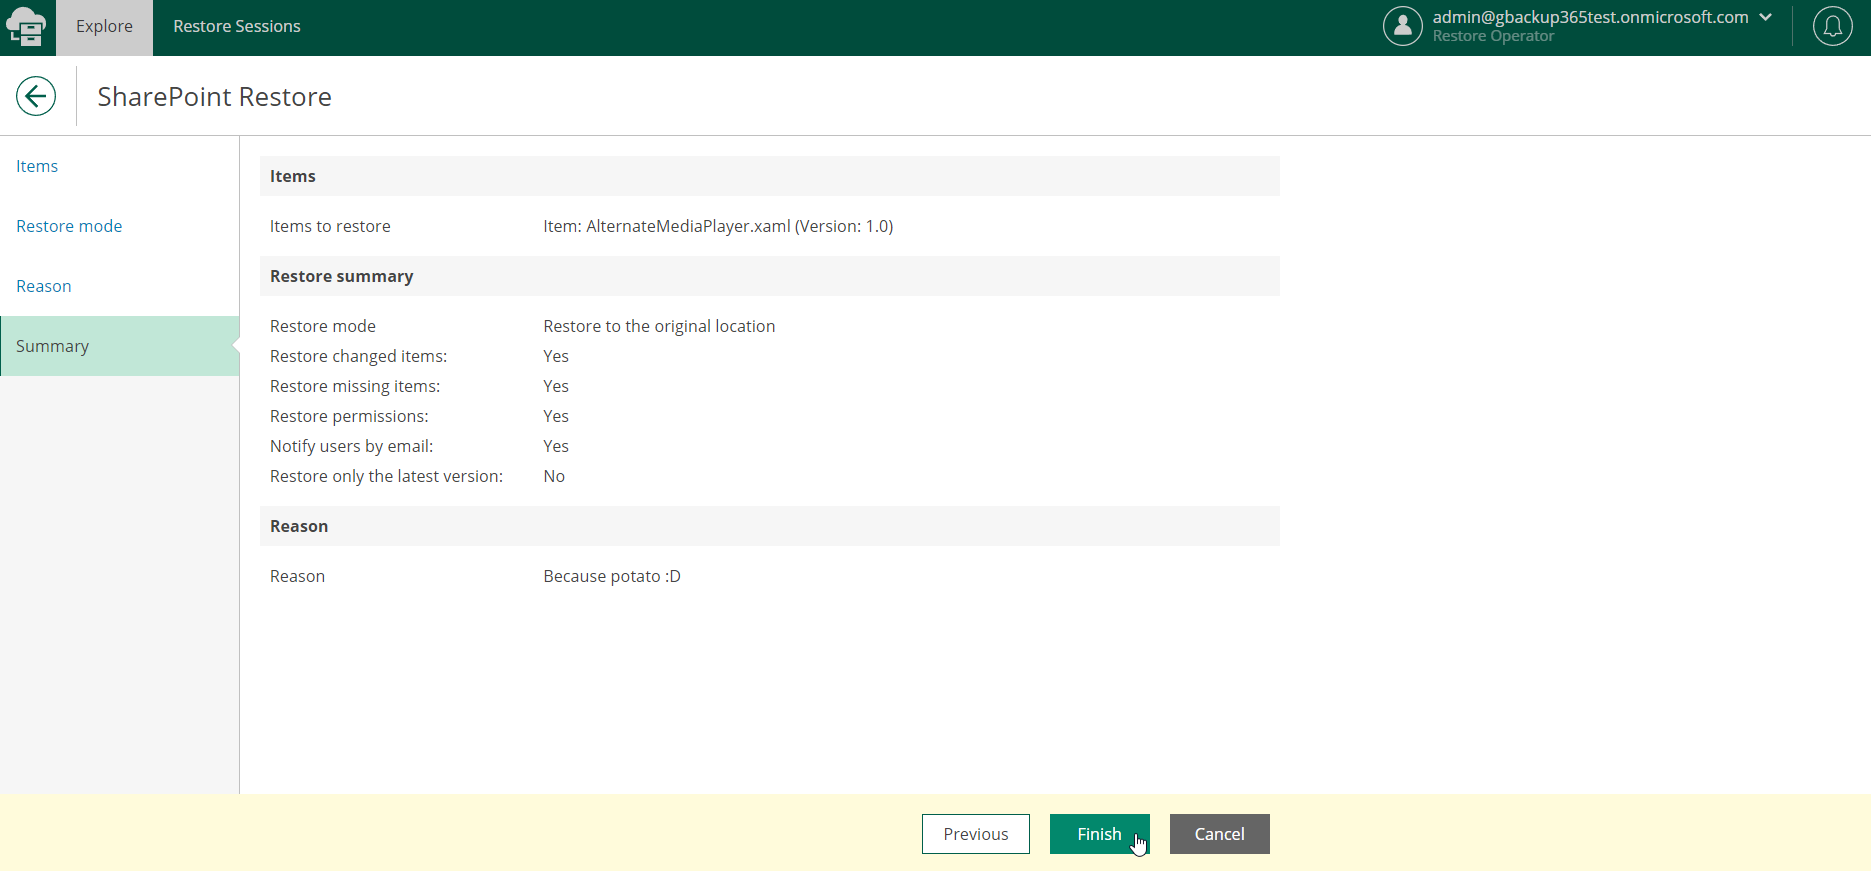
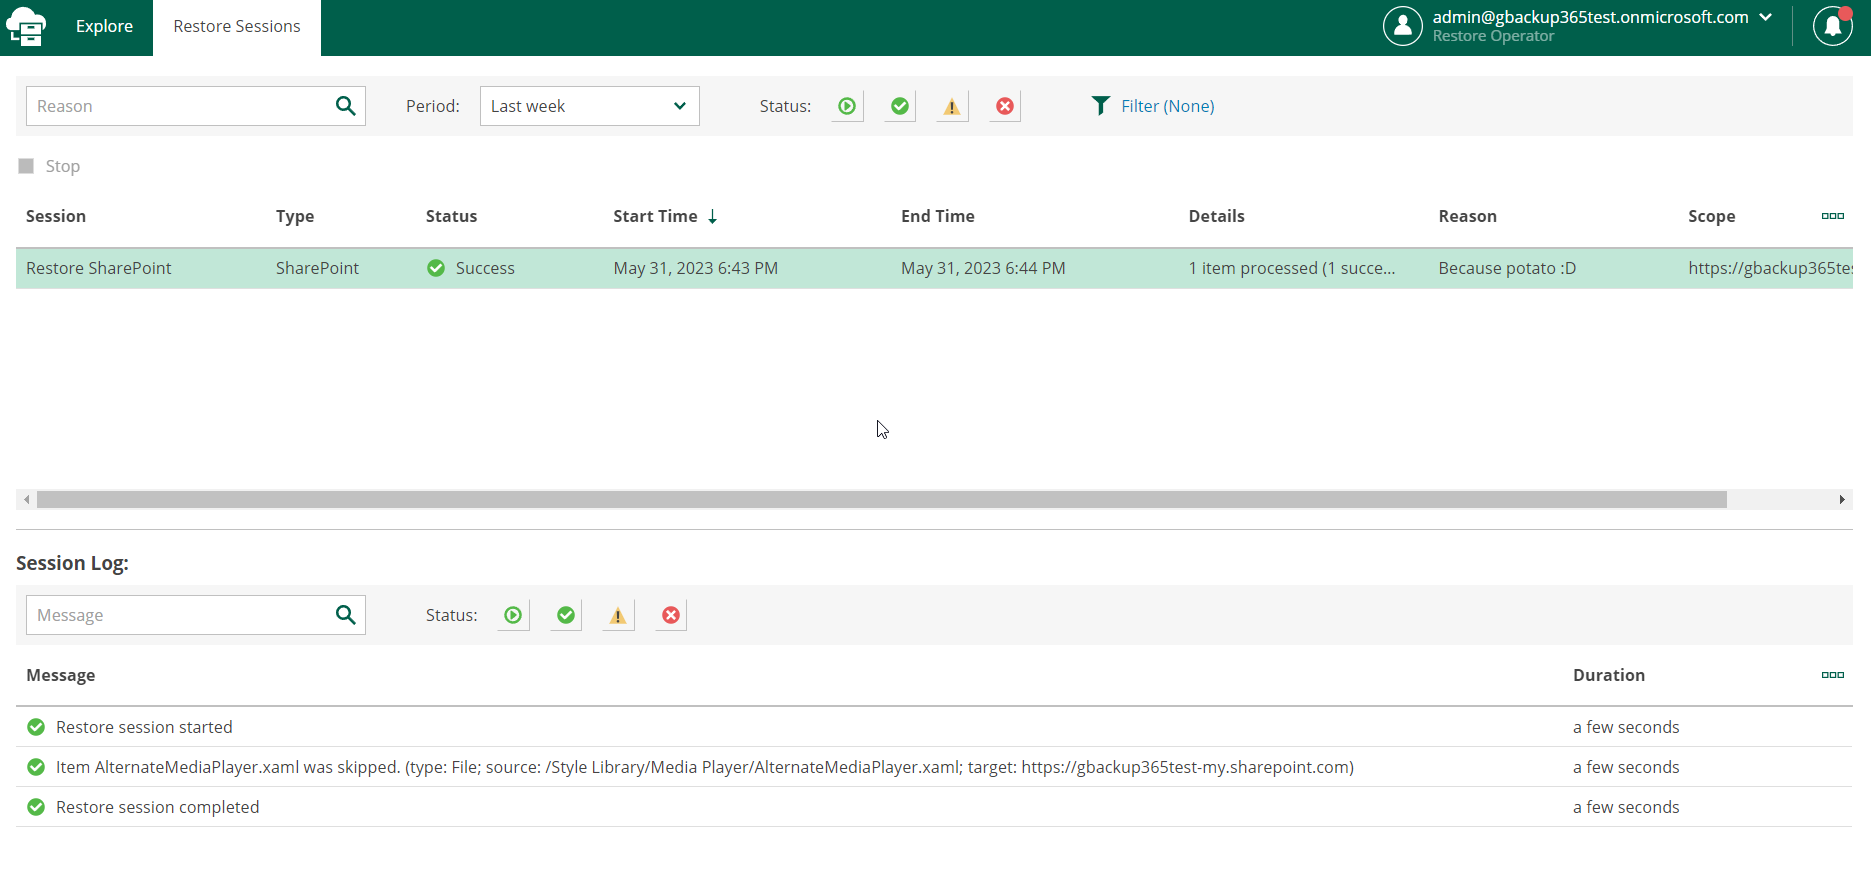
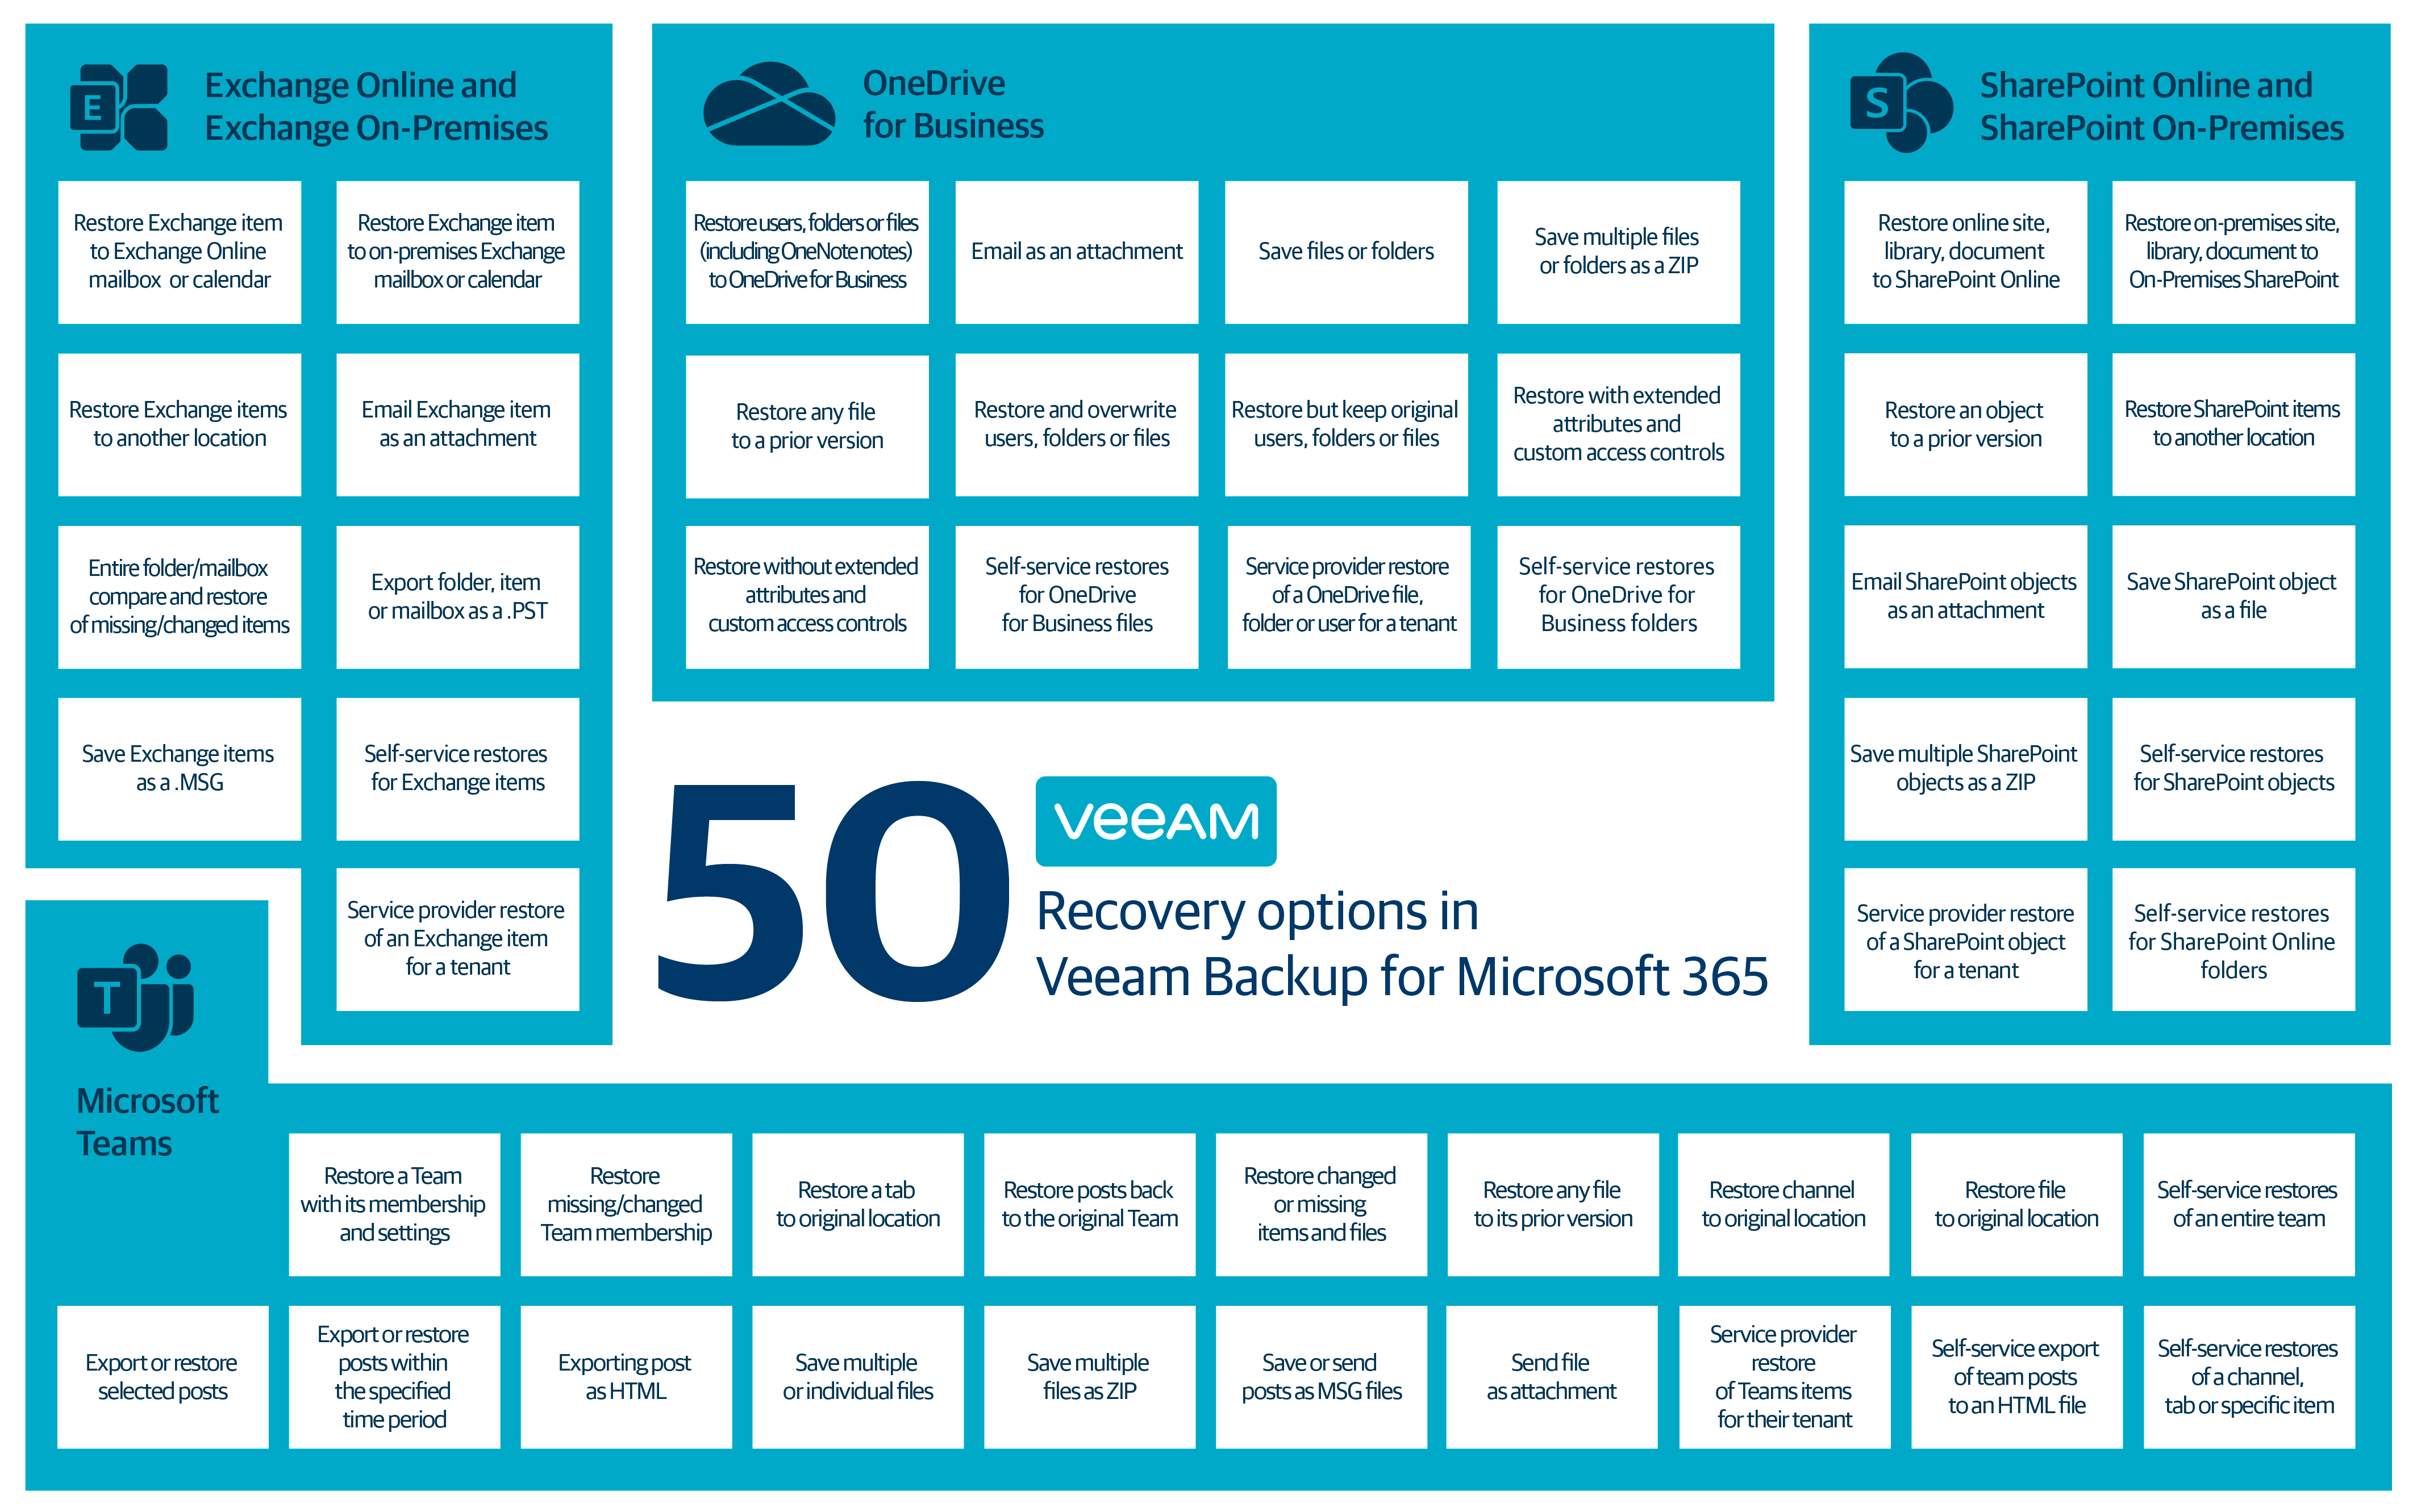
The self-service restoration portal for Microsoft 365 environments allows users to restore their own emails, files, and more by choosing their individual restore points and restoring SharePoint and OneDrive folders.
Access to the Portal
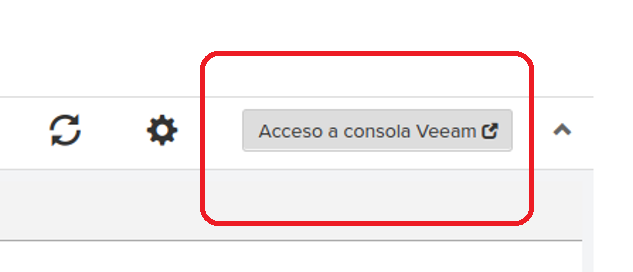
To access the portal and perform restorations, you will have access from the panel to the Veeam console:
Or from the following URL:
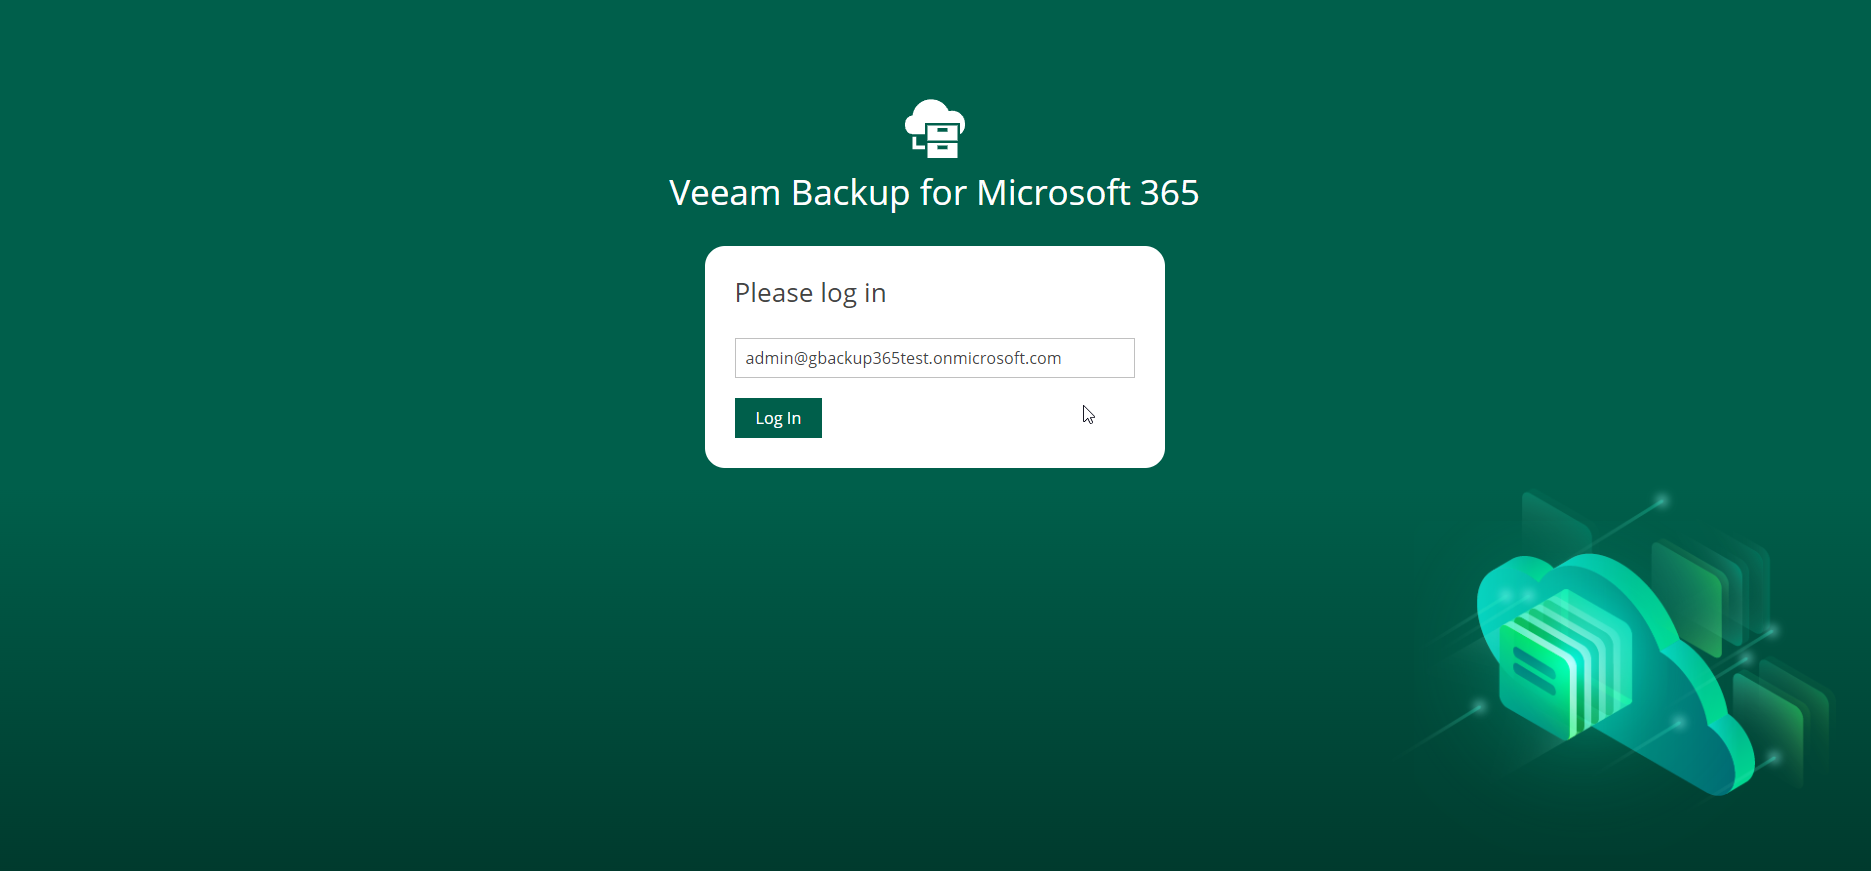
https://gbackup365rp.gigas.com
You will need to log in with your Office 365 account.
