Diferencia entre revisiones de «Custom Template Creation»
De GIGAS DOCS
| (No se muestran 5 ediciones intermedias de otro usuario) | |||
| Línea 1: | Línea 1: | ||
| − | {{en español | | + | {{en español |Creación_de_plantillas_personalizadas}} |
| + | Gigas offers to its clients the possibility of creating a template based on a current cloud server, which will allow you to create a cloud server, using the operating system of your choice, install and set up your programs and files, and based on that, create a template which you will be able to apply to that same cloud server or even other ones, as many times as you need. | ||
| + | The process is as follows: | ||
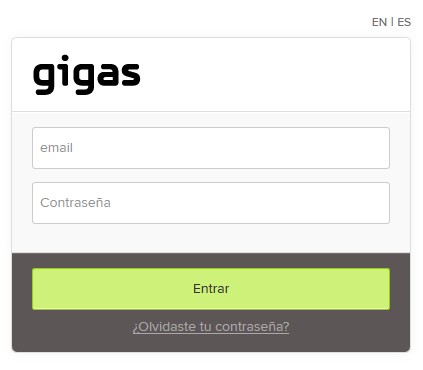
| − | + | # Access your account via the Gigas Control Panel by means of your client credentials (registration email and password)<br>[[Archivo:customtemplate1.jpg]] | |
| + | # Access the contracted product that contains the cloud server to be used to create a custom template | ||
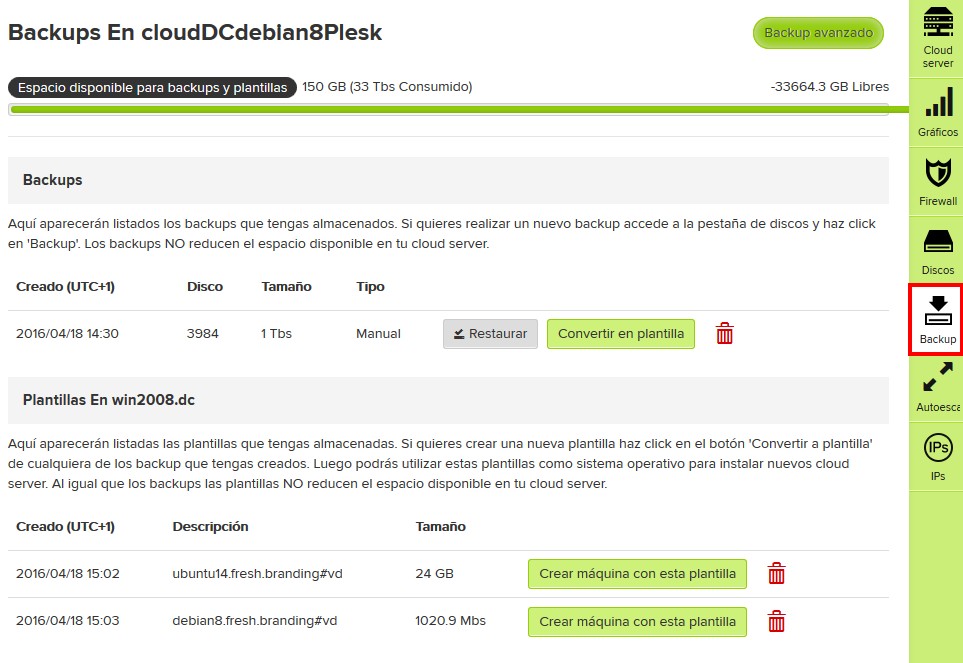
| + | # Access backups layer<br>[[Archivo:customtemplate2.jpg]] | ||
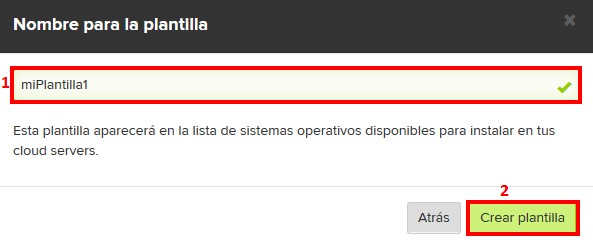
| + | # A custom template is created based on a cloud server´s disc backup. To perform a custom template, you will have to perform a backup the moment you wish to create it. Once performed, you will find next to the available backups the option Convert to Template. By clicking on it, a field will appear allowing you to give the new template a name, entering it by clicking on the button beneath the name. This will start the conversion and storage process.<br>[[Archivo:customtemplate3.jpg]]<br>[[Archivo:customtemplate4.jpg]] | ||
| + | # From this point on we will have a new template, created by you and exclusive to your account, available at the cloud´s moment of creation or reinstallation. | ||
| − | + | {{support}} | |
| − | + | ||
| − | + | [[Categoría:Templates]] | |
| − | + | [[Categoría:Control_Panel]] | |
| − | + | ||
| − | + | ||
| − | + | ||
| − | + | ||
Revisión actual del 17:27 23 mar 2017
¿Quieres leer esta página en español ?
Gigas offers to its clients the possibility of creating a template based on a current cloud server, which will allow you to create a cloud server, using the operating system of your choice, install and set up your programs and files, and based on that, create a template which you will be able to apply to that same cloud server or even other ones, as many times as you need. The process is as follows:
- Access your account via the Gigas Control Panel by means of your client credentials (registration email and password)

- Access the contracted product that contains the cloud server to be used to create a custom template
- Access backups layer

- A custom template is created based on a cloud server´s disc backup. To perform a custom template, you will have to perform a backup the moment you wish to create it. Once performed, you will find next to the available backups the option Convert to Template. By clicking on it, a field will appear allowing you to give the new template a name, entering it by clicking on the button beneath the name. This will start the conversion and storage process.


- From this point on we will have a new template, created by you and exclusive to your account, available at the cloud´s moment of creation or reinstallation.