How to set up gigas firewall
In order to add personalized security to your Cloud Server, Gigas adds a customizable standard Firewall to all its Cloud products, which you can apply to each Cloud Server.

Its management and setup are quite simple. To do so, you just have to access the Cloud Server in question and manage the Firewall parameters.
Standard Firewall
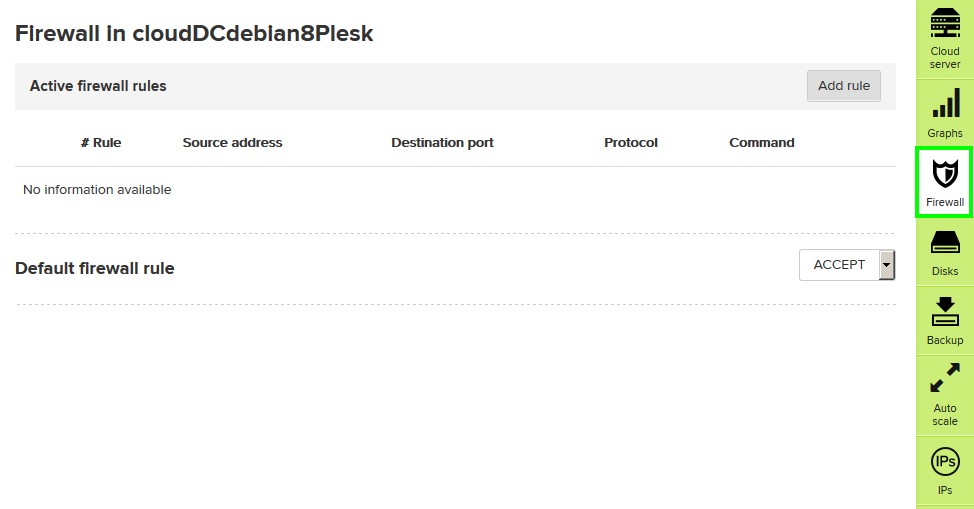
By default, and in order to ease Cloud access, all of its ports are open (ACCEPT) by default. They can be closed by setting the default rule to DROP, as indicated in the following figure:
Custom Configuration
This Firewall allows to set up personalized rules, allowing you to open or close as many ports as you need, both UDP and/or TCP protocols, and selecting the networking interface to which to apply it to (in case more than one interface is used).
Rule Operation
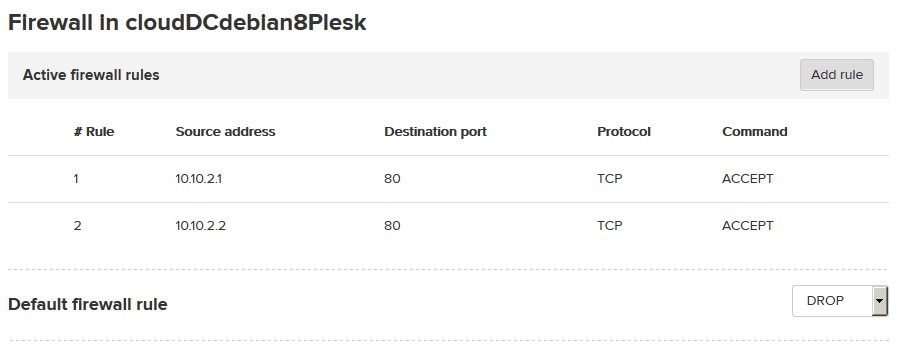
Rule readout is done from top to bottom, leaving the last rule set up as the default. That is the reason why only one rule can be set up for an external IP address. For instance, if the following rule set is created:
Source Address	Destination Port	Protocol	Command
10.10.2.1	80			TCP		ACCEPT
10.10.2.2	80			TCP		ACCEPT
Default rule: DROP
When someone tries to connect, the system checks the first rule and, if it applies (the source IP is 10.10.2.1 trying to connect to port 80. To define more that one port, separate the values with comas), it grants access and does not check further rules. Inc ase the rule is not matched, it moves on to the next one, continuing this way until the last rule, where all is denied. For this the usual default behavior is Drop.
This setup would look like the following figure:
You may edit / erase any rule at any time, setting up your Firewall to meet your needs.
You may also enter networking masks (10.10.2.1/24 will apply the rule to any IP within the 10.10.2.1-10.10.2.255 range).


