Diferencia entre revisiones de «Disk addition Guide»
De GIGAS DOCS
(reorganización imágenes) |
(renumeración lista) |
||
| Línea 7: | Línea 7: | ||
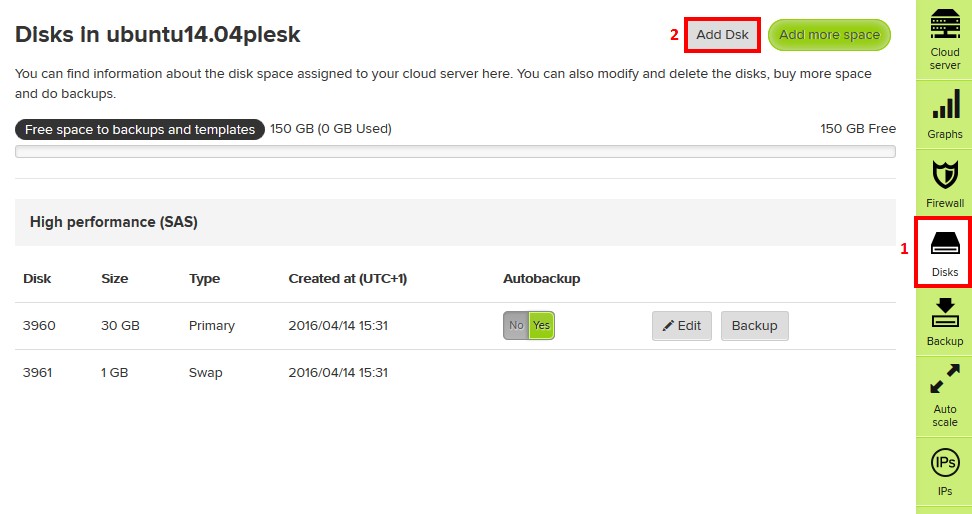
*#Click on "Disks" in the Cloud Server administration page. | *#Click on "Disks" in the Cloud Server administration page. | ||
*#Click "Add disk"<br>[[File:Disk_addition_guide3.jpg]] | *#Click "Add disk"<br>[[File:Disk_addition_guide3.jpg]] | ||
| − | *#Choose wanted space. | + | *#In the new dialog, press "[+]" button. |
| + | *#Choose wanted space: slide the selector or, on the left, input the desired amount. | ||
*#Click "Add disk"<br>[[Archivo:Disk_addition_guide4.jpg]] | *#Click "Add disk"<br>[[Archivo:Disk_addition_guide4.jpg]] | ||
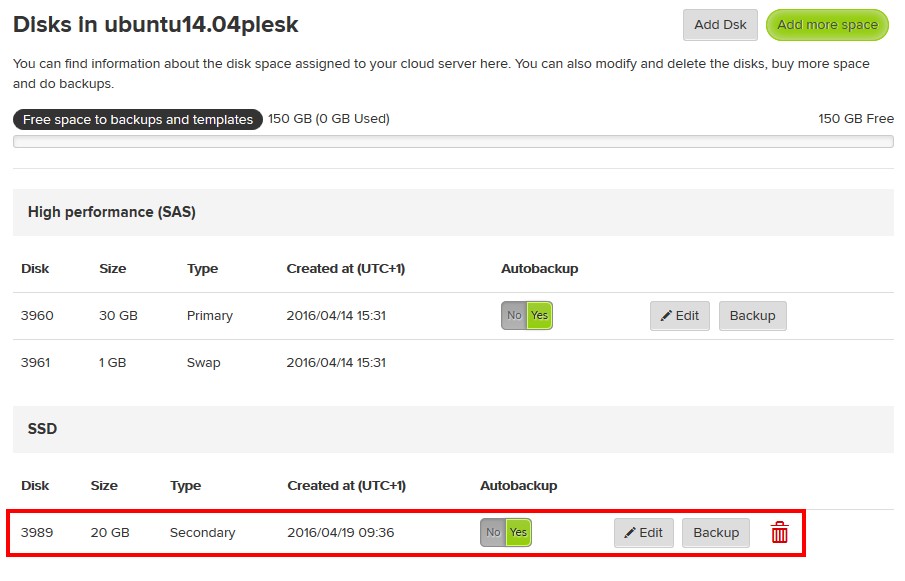
*While in the disk section you should be able to view the new disk. Refresh the page, your disk should be ready for use.<br>[[Archivo:Disk_addition_guide5.jpg]] | *While in the disk section you should be able to view the new disk. Refresh the page, your disk should be ready for use.<br>[[Archivo:Disk_addition_guide5.jpg]] | ||
Revisión del 11:27 19 abr 2016
¿Quieres leer esta página en español ?
Gigas offers its clients the pssibility of adding disk space to the Cloud Datacenter product. You can follow these steps:
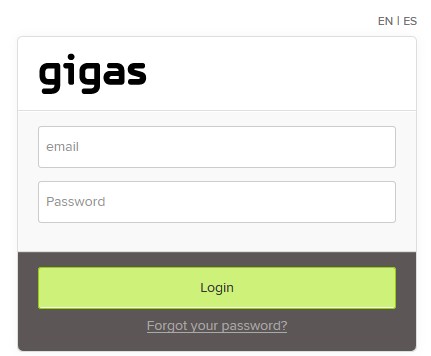
- Access your cloud product from the Control Panel through the upper bar on Gigas site login.
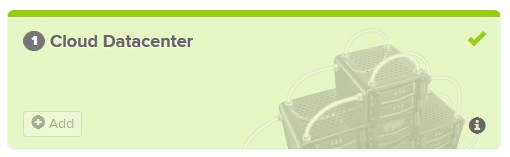
- Click the product you wish to add disc to.
- Select the Cloud Server

- Click on "Disks" in the Cloud Server administration page.
- Click "Add disk"
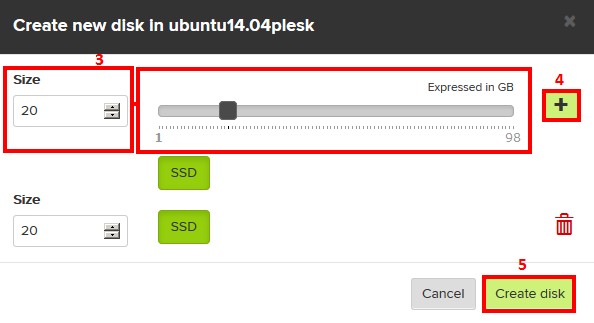
- In the new dialog, press "[+]" button.
- Choose wanted space: slide the selector or, on the left, input the desired amount.
- Click "Add disk"
- While in the disk section you should be able to view the new disk. Refresh the page, your disk should be ready for use.