Support chatChat icon

Installation and Configuration of Physical Terminals

PROVISIONING OF PHYSICAL VoIP TERMINALS


During the provisioning phase of the Virtual PBX service, Gigas will have integrated your current physical VoIP phones into their virtual switchboard service, with the same user/extension assignment as defined on the MásMóvil platform.

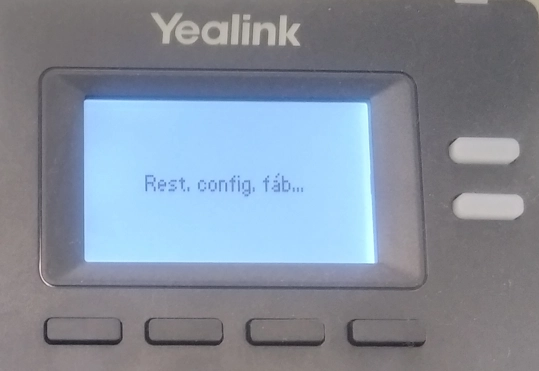
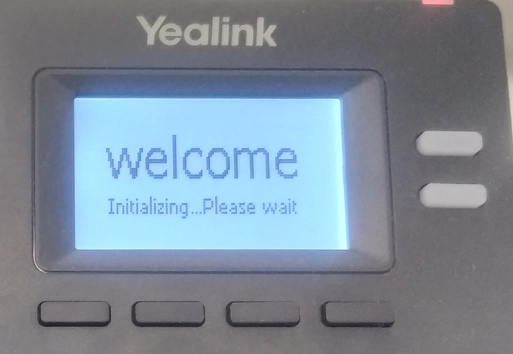
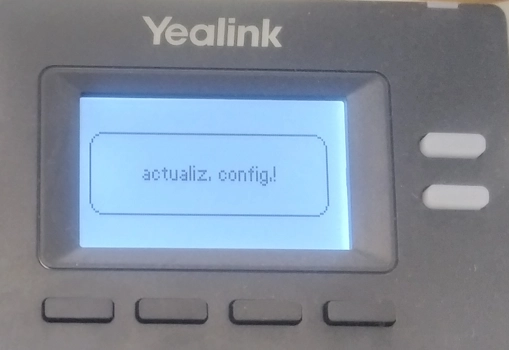
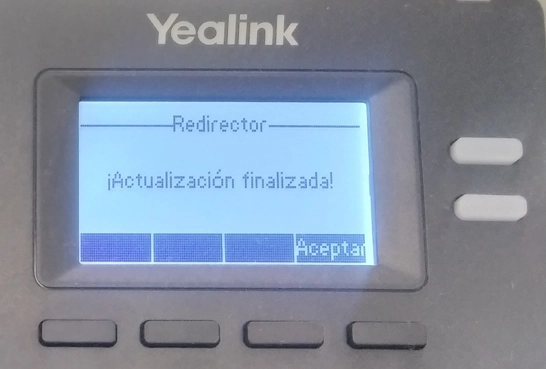
Gigas registers the MAC address of the phone in its database. The device will be automatically configured after performing a factory reset.

NETWORK CONNECTION AND POWER SUPPLY FOR PHYSICAL VoIP TERMINALS

Before commencing the automatic reconfiguration of the terminals, ensure they have an internet connection and are adequately powered. Always use the original Yealink adapter (5V/2A).

Use of third-party adapters may cause irreparable damage to the equipment. If you wish to connect a PC to the terminal, we recommend using the Ethernet cable provided by Yealink. If power is being supplied through Ethernet (PoE), there is no need to connect the adapter. Ensure that the hub/switch is PoE compatible. Network Configuration: Navigate to Network > Basic > Config IPv4

You can configure network settings in the following ways:

Incorrect network settings may render the phone inaccessible and affect network behavior. For further information, please contact your system administrator.

AUTOMATIC CONFIGURATION OF PHYSICAL VoIP TERMINALS

The device will automatically download the configuration after a factory reset.
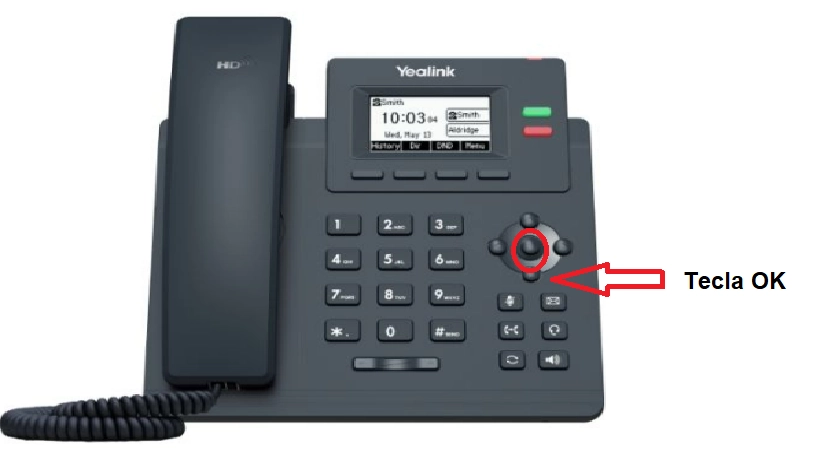
Factory Reset:

1. Press the OK key and hold it down for at least 5 seconds until you see the following NOTICE on the display:

Restore default values?
cloudvoice phone
2. Press the ACCEPT button to initiate the factory reset process on the device.
cloudvoice phone
3. While the device is performing the process, you will see the following NOTICE on the display:

Rest. config. fáb
cloudvoice phone
4. Once this reset process is complete, you will see the following NOTICE on the display:

WELCOME Initializing… Please wait
cloudvoice phone
5. While the device is performing the process, you will see the following NOTICE on the display:

Updating Configuration!
cloudvoice phone
6. Once the device initialization process is complete, you will see the following NOTICE on the display:

Update Completed!
cloudvoice phone
7. Once the factory reset process is complete, if no errors occurred during the device setup process, the initial usage display will be shown on the device.

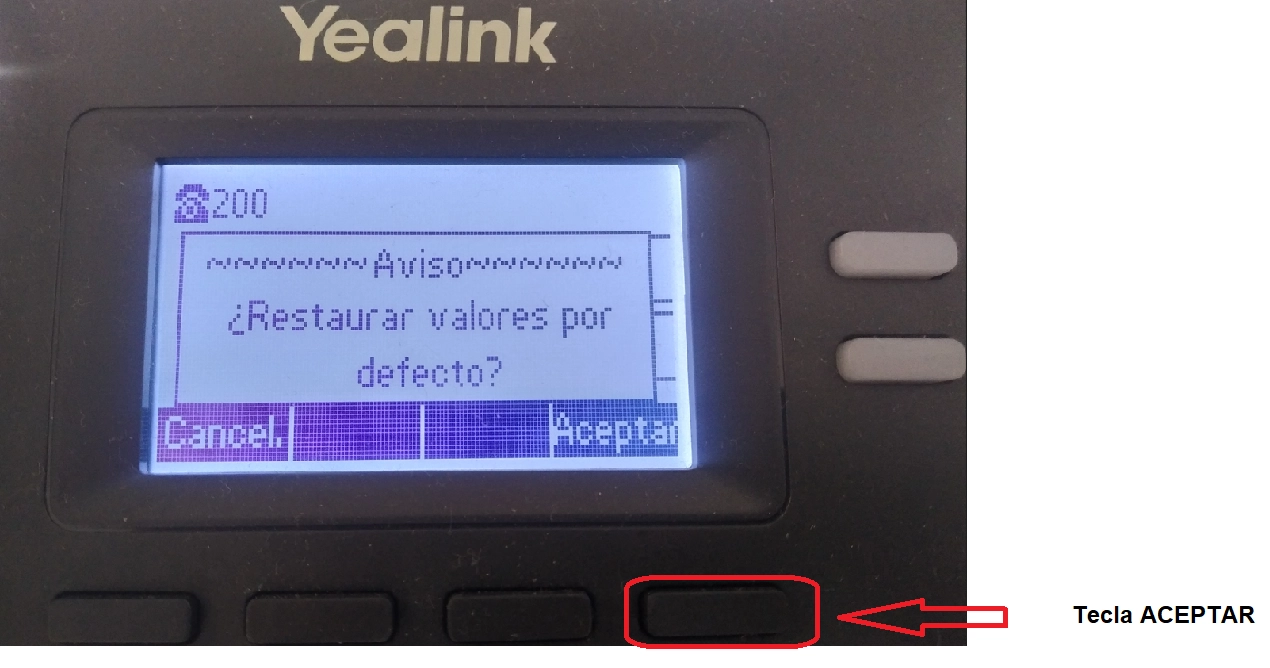
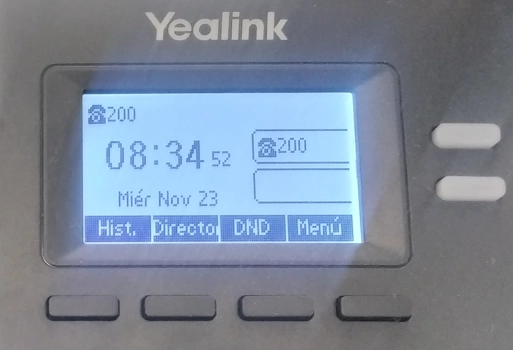
It will also display the extension number assigned to the terminal (in the example, extension 200).

cloudvoice phone

USER MANUALS FOR PHYSICAL VoIP TERMINALS

You can download the user manuals for your Yealink terminals at the following link:

Manual

Technical support

phone: 900 247 000